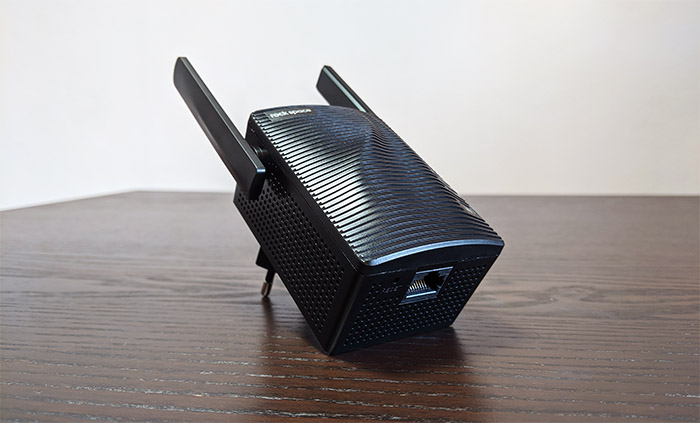
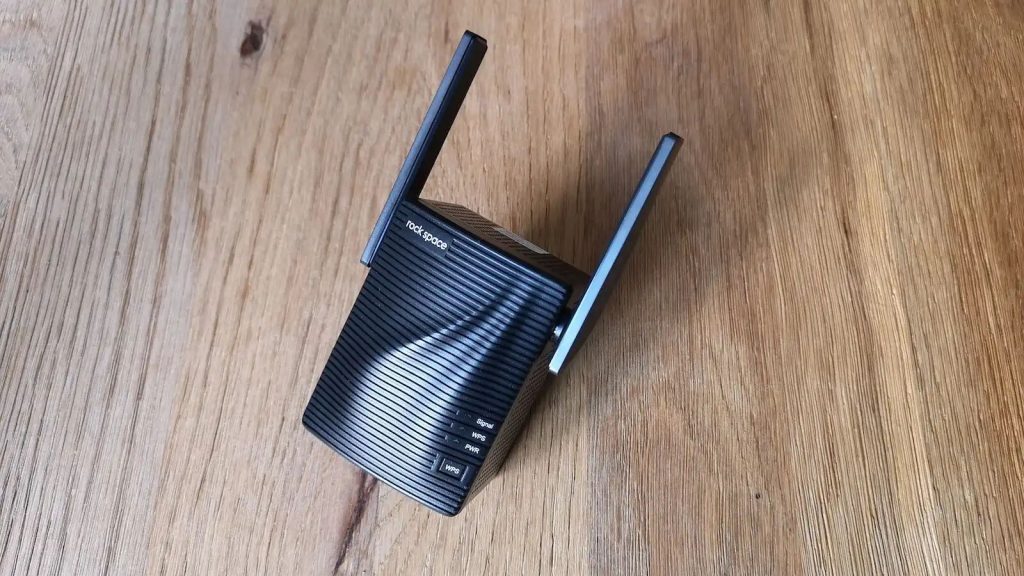
Have you purchased a new Rockspace extender to resolve the issues with a bad home connection? However, you came upon another bigger problem, and that is how to set up Rockspace WiFi extender the right way. You can do three simple and easy-to-follow methods, and you don’t need any particular skill or knowledge.
Following these steps can help you set up your WiFi extender hassle-free, and in case you face some issues with the connection or the extender doesn’t provide you with a good signal, we’ve also shared a few tips on how to resolve them. Thus, let’s get started!

How to Set Up Rockspace WiFi Extender
In order to properly set up your new Rockspace WiFi extender, you need to follow these simple steps:
- Connect your Rockspace WiFi extender to the power outlet near the router.
- Next, connect with the Rockspace wireless network from your computer.
- Enter 192.168.0.254 in the address bar.
- Then, select and enter the password of the WiFi network you want to extend.
- Click “Extend”.
Step-By-Step Guide for Different Methods
Rockspace WiFi extender setup using the web configuration
Plug in the extender
Plug in the extender in the power outlet in the space where the WiFi signal is the weakest. Follow the device manually if there are any particular instructions about the location. Otherwise, it’s recommended to be placed in areas with no physical obstacles and open space. Wait for a couple of moments until you see the LED light turn on.
Access the extender settings using a web browser
Using your laptop, disable any mobile data, open the available network ranges, and connect to the new extender network.
Open any web browser, and you’ll be redirected to the official Rockspace admin panel. If not, enter the default IP address 192.168.0.254
Once you log in, you’ll need to set up a username and password. Next, click on the “Extend” button and confirm the selection.
Check the extender signal
When your Rockspace extender is enabled, perform a speed test to check if the network is working and the speed is good.
If not, relocate the extender to an exact position between your router and the dead zone where the WiFi signal is the weakest.
Connect your device using the login credentials you set or the default ones provided in the extender’s manual.
Plug in the extender
If you cannot connect to the network, another way to set up Rockspace WiFi extender is through the WPS button.
Similarly, as in the previous method, plug in the extender in the power outlet in a central location between the router and the dead zone. Wait for the extender to connect for a couple of seconds until you see the power light turn on.
Locate the “WPS” button on both the router and the extender. Usually, it’s located next to the “Restart” button.
First, press the “WPS” button on the router, wait a couple of minutes, and then press the “WPS” button on the extender. You’ll know when the extender is on when you see the LED signal turn blue.
Read More: What WiFi Extenders Work With AT&T?
Check the performance of the extender
Refresh your available network ranges, and the WiFi extender will now be paired with your WiFi. You can connect with the extender using the same credentials from your main router. Check the connection and network speed, and if it’s needed, relocate the extender.
Rockspace WiFi extender setup with an Ethernet cable
- Connect the extender to the router using an Ethernet cable.
- Like the previous steps, open the web browser, type in the regular IP address, or access https://re.rockspace.local.
- Set up the new extender network by placing safe username and password credentials.
- Power on the extender and wait for the connection to be established.
- Check whether the network is available and has a good signal.
Common Issues You Might Face
Weak or no network connection
Check for the LED light if the extender needs relocation
You can check by the extender’s LED light color if anything goes wrong with the connection. The blue light means the network connection is good, and the speed is within the expected range.
The green color also means that the connection is stable. If the light is red or there is no light at all, that means that the connection is very weak and unstable, so you’ll need to move the extender closer to the router.
Check for any loose cords
If the extender is working properly and the LED light is on, but you notice that there is no network once you connect, check whether the cords are probably attached or are plugged in loosely in the power outlet.
Update the extender firmware
Updating the extender firmware might help you resolve the weak or no connection issue. Open the official Rockspace site and navigate to the administration panel. Here you’ll find a note on whether a new firmware update is available that you’ll need to install. Click on the update and follow the instructions so that your extender firmware will be updated.
Perform factory reset
Performing a factory reset on the extender can resolve most issues regarding the bad connection or if your extender keeps disconnecting from the network. However, you must know that after the factory reset, you’ll need to set up the extender again using the above methods.
Resetting the extender to factory configuration can be done by pressing the “Reset” button on the side panel. Hold the button for a couple of seconds until the LED lights blink. Then, release the button and connect to the network again.
WiFi extender network login issues
Try with another browser
If you cannot log in to the extender’s admin page, it might be because you are using an outdated browser. Check if your browser has any updates, or switch to another browser.
Disable the antivirus program
Another reason might be using antivirus protection, as most programs are created to keep your router safe. Disable the antivirus program shortly until you complete the signup process.
Also Read: How to Control Devices Connected to Your WiFi

Conclusion
This is the very end, and we hope you have learned how to set up Rockspace WiFi extender in the right way. Now you can enjoy a better WiFi coverage connection!