If your router slows down and you feel like it is not working with the same power and speed as before, it might indicate an update. Not all routers are the same, but these steps are general for almost all router types. If you have not changed the router’s username and password, they are often “Admin” and “password.”
We believe the extended description below will help you find out how to update my router and do it easily. So, let’s get started and discover more!

How to Update My Router
The following steps should help you resolve the update of your router; thus, let’s take a look.
Step 1: Find your router’s IP address and enter it on any browser search tab
The process always begins with the router’s IP address. To find the router’s IP, you should open the Start menu and type “cmd” in the search section.
The first app that should show on the list should be Command Prompt. Open it and type “ipconfig,” and the app will open a black information window. The “Default Gateway” is the IP address for which you are searching.
Step 2: Enter the username and password
Copy the IP address number and open any web browser on your computer. The website will show a window asking for username and password information.
In most cases, the username is “Admin,” and the password is “password.” If it does not proceed, check the router’s manual and see if the manufacturer has mentioned another login information.
After the login, the website should show the router’s settings. You should search for the firmware update section or a blinking notification that indicates pending updates. If you don’t see the update section, visit the manufacturer’s website and find the router model number.
Step 4: Search for available updates and download the latest version
The router model number should bring you the firmware update file/s. The updates are often converted to a “ZIP” format file because they might contain multiple files in a folder.
Ensure the firmware update files are the ones for your router model because otherwise, it would not work. Wait until the updated files completely download.
Step 5: Extract and upload the firmware files to the router
Extract the “ZIP” file and move them to an alternate location. Begin the update process and wait until it finishes. Reboot the router, and it is ready for use.
Read more: How to Flash Tomato to a Router

Router Update Guide for Different Brands
Netgear
Netgear releases updates to improve the speed and performance of its products. The updates also add new features and increase security measures, protecting the router from malware and threats.
- To search for Netgear router updates, open Netgear’s official website and search for the Netgear support option.
- Then, enter the router’s model number in the required section.
- Choose the Download option, then choose Firmware update and download the files; the file comes in “ZIP” format, so you have to unzip it.
- Open the routerlogin.net website and enter your username and password.
- Open settings (or Advanced) and choose Administration.
- Search for the router update section and select the downloaded unzipped files from before.
- Click upload and wait until the process finishes.
After the update, turn the Netgear router off and wait until it restarts on its own.
Linksys
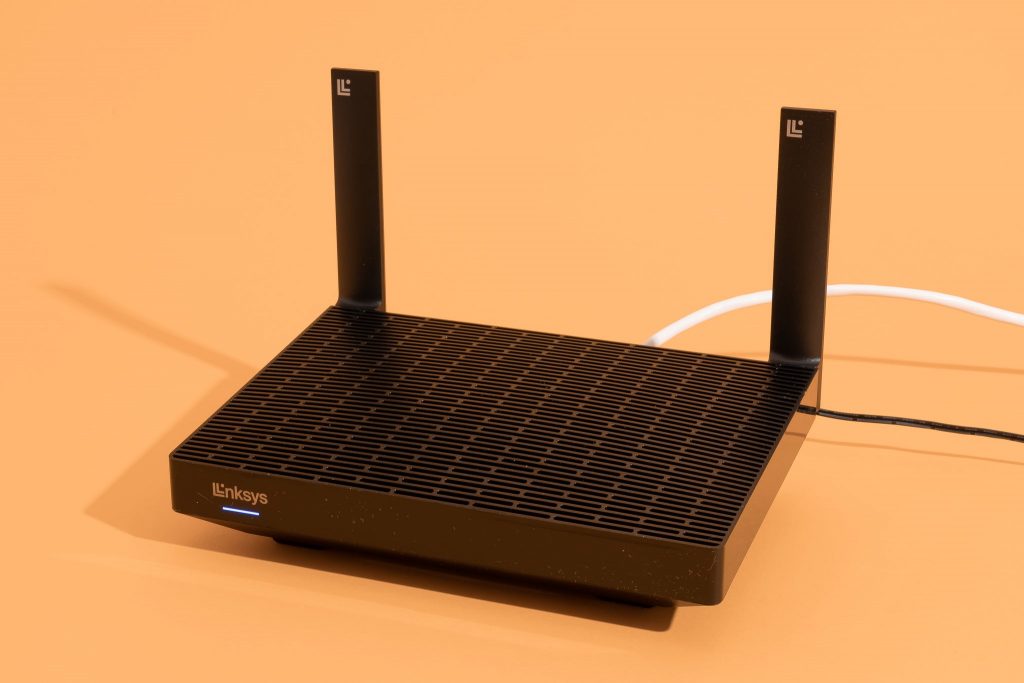
Linksys offers router updates to fix the issues and enhance the router’s performance. The Linksys routers can be updated automatically and manually, so let us explain how you should do the manual update.
- Identify your router by checking the router model and version. If the Linksys router has no identification number, it is the “Version 1” model. The router’s model number or code is displayed on the router under the Linksys logo.
- Visit the Linksys support website and download the firmware updates to your computer.
- Enter the username “Admin” and password “password” (or the one you have set on your own).
- Choose the Administration section and click on the firmware upgrade option.
- Click “Browse” and select the downloaded file.
- Click “Start upgrade” and wait until the program completes the upgrade action.
- Restart the router by clicking the button off and on.
TP-Link
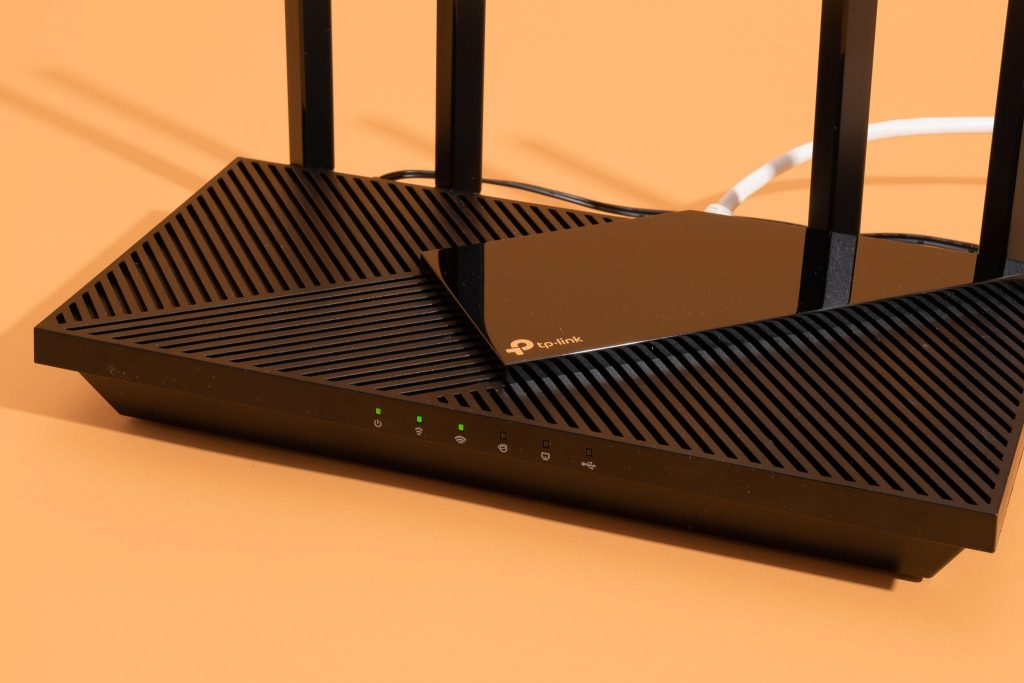
Some TP-Link router models require manual updates, while other newer models support the Cloud service and are automatically updated. The following guide is for all TP-Link router models that require manual updating.
To upgrade the TP-Link router manually, you should begin by connecting the router with your computer with an Ethernet cable.
- Identify your router model. Not all versions are the same, and you should enter the precise model version to get the right updates. The model number is on the back of the router device.
- Open the TP-Link website and visit the download center. Choose the router version and download the zipped firmware update files.
- Extract the files and login to the TP-Link management page using the standard username and password (“Admin” and “password”).
- Open the system tools (or Firmware) and select the downloaded upgrade files.
- Click on the upgrade option and do not close the window until the upgrade process finishes.
- Restart the router.
Things to Consider When Updating the Router
You should not upgrade your router using a WiFi connection. Using an ethernet cable is much better and faster. Just connect your computer to the router. Also, you should not remove the ethernet cable during the upgrade process because it will stop and fail.
The router’s power button should be turned off and on after the firmware upgrade process is finished. Turning off the power button while upgrading the router will stop the upgrading process.
Also read: How To Update WiFi Drivers
Conclusion
Well, we have come to the very end of this short article. So, we hope the tips mentioned above have helped you, and you will no longer search for how to update my router. Now, you have everything you need in this short article.
Therefore, share your experience with your friends and let them know how to do it independently.