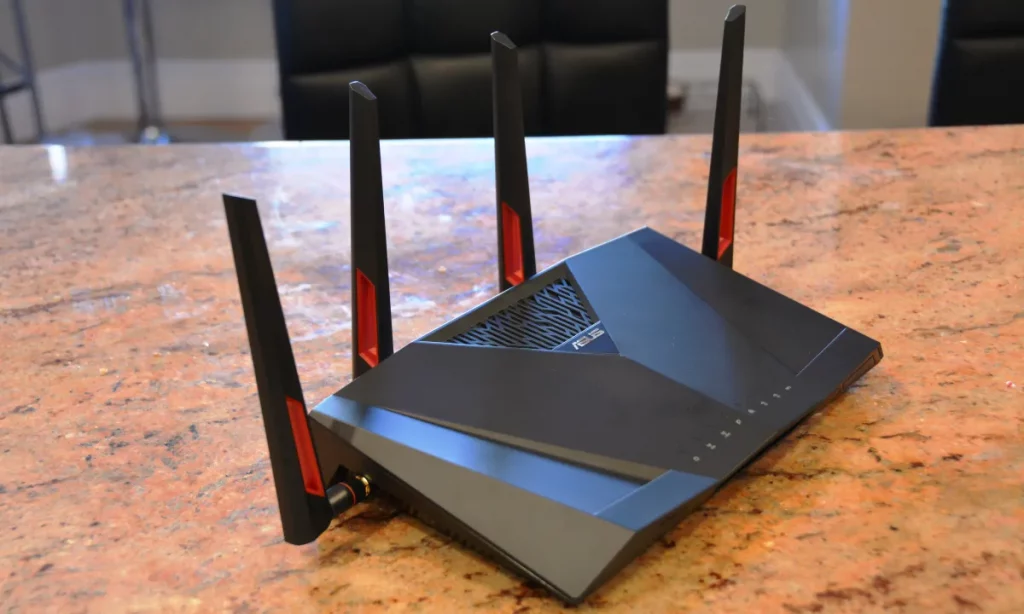
The default gateway stands between the local network and the internet, transmitting information between the connected parties. In other words, it is your WiFi router. The default gateway has an IP number which is generally written on the same router.
Everyone can easily change the IP, so it might be hard to find your gateway IP if you had changed it before but forgot to write it somewhere “just in case”. It might happen to everyone to forget to save the changed default gateway IP address.
However, you don’t have to worry because you’ll get some helpful tips through this article. So, if you want to know how to find default gateway on a specific device, keep reading below.
How to Find Default Gateway
The gateway can be found on Windows operating system devices in the control panel menu or Command Prompt. In contrast, macOS users can find it in the System preferences network settings.
Nonetheless, if you wonder how to find the default gateway on your Android and iOS device, just open the network settings menu.
If you have not changed the default gateway’s IP address, you can also find it on the router’s label. However, if you have made some changes, you should go with the mentioned-above options. Next, we will explain how to find the default gateway from the device you are currently using.
Windows
Windows users can find the default gateway in two ways. The first way is via the Control Panel menu, while the second option is Command Prompt.
Control Panel
- Find the Control Panel in the Start menu or search for it on the search tab.
- Open the Control Panel menu and click on the Network and Internet icon.
- Then, open the Network and Sharing Center icon.
- Find the connection information and click on the “Ethernet” option.
- A smaller window will appear. Choose “Details”.
- The default gateway is under the “ IPv4 Default Gateway” section.
Command Prompt
- Press the Windows + R keys on the computer keyboard.
- A small window will appear on the screen. Type “cmd” and click “OK”.
- Then, type “ipconfig” on the Command Prompt window.
- The default gateway will appear under the Ethernet section as “Default Gateway”.
Read more: Which WiFi Standard Am I Using?
macOS
macOS users also have two ways to find the default gateway. One is via System Preferences, and the other is via Terminal. No matter which option you choose, both will bring you to the default gateway IP address in seconds.
System Preferences
- Find the “System Preferences” option on the Apple menu.
- Click on the “Network” icon and select the network you are currently connected to.
- Then, click on the “Advanced” option (bottom right on the panel).
- Choose “TCP/IP”.
- Find the default gateway under the “Router” section.
Terminal
- Open the Terminal app (find it on the spotlight icon).
- When the Terminal app opens, type the command: “ip route | grep default.”
- You can find the default gateway listed under the “Default” section.

Linux
Linux users can find the default gateway using the Terminal app, the same as the macOS version.
- Find the Terminal app in Applications > System Tools.
- Type the command “ip route | grep default” on the Terminal.
- The Terminal will show a list, and you will find the gateway IP address number.
Or, you can try with the general settings:
- Open the Settings (left sidebar).
- Scroll down until you find the “Network” option.
- Choose “Connection settings.”
- The default gateway IP address will be listed under the “Devault Route”.
Read more: How Often Should You Reset Your Router
Android
The steps to find the default gateway on an Android device depend on the Android version and might differ sometimes. In general, you can find the default gateway here:
- Open the main settings on your Android device.
- Click on the WiFi option in the settings menu.
- Tap and hold on to the connected network.
- Tap on the “Modify network” option, then choose “Advanced”.
- Find the “IPv4” setting and switch it to “Static”.
- Your gateway will be listed under the “Gateway” section.
iOS
- Open the Settings menu on the iOS device.
- Choose the “WiFi” option and select the connected network.
- Tap on the “i” sign on the right.
- The default gateway IP address will be written under “Router”.
Bonus tip
This tip works well for all devices, no matter their operating system or version. This might also be the easiest way to find your default gateway IP address online.
- Open any web browser on your device (computer, smartphone, tablet).
- On the search bar, type whatsmyrouterip.com, then click Enter.
- The website will show your Public IP address and the Router’s Private IP.
- The default gateway is the number next to the Router Private IP.
How to Secure the Default Gate
The router might be exposed to cybercrime and hacker attacks, interrupting access to the entire network. Your data might not be safe because an unsecured router might be a great target for hackers.
However, you have an option to secure the default gateway by installing a VPN application. Most VPN apps protect the access point, meaning they protect each device connected to the router.
The VPN security encrypts your data and protects every piece of information, even if your default gateway gets hacked. The VPN increases the security of each device connected to the default gateway and enables a safe and steady connection in your home.

Conclusion
The default gateway enables information transmission between the devices connected to a specific network.
The gateway is actually the router we all have at home and in the office. It allows our devices to connect to the internet and find the right way to get to the destination.
In case you need the IP address of the default gateway, you must search for it using a device connected to the network. It is simple if you follow the steps we described above to learn how to find default gateway.