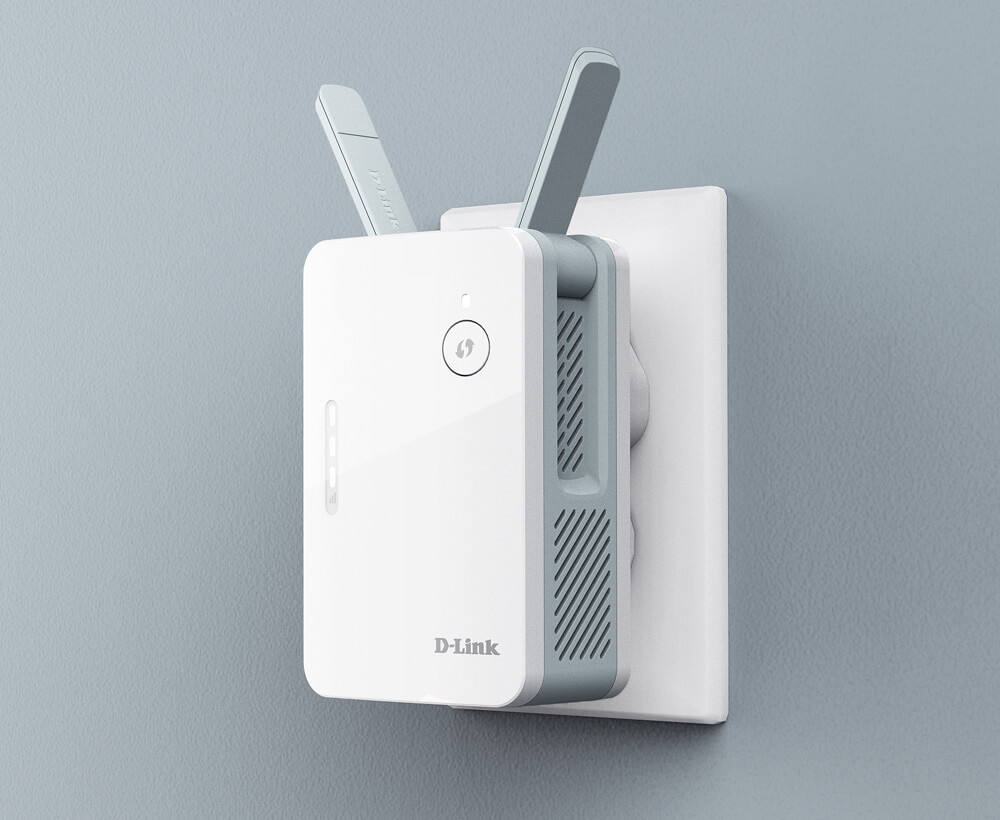
A WiFi extender is an excellent gadget when you need WiFi coverage for a broader area. However, it isn’t uncommon for users to experience issues like poor coverage and slow internet speed despite using a WiFi extender.
There are various reasons why your WiFi extender might not be living up to your expectations. Most of them have a straightforward solution – a factory reset of the device. Don’t know how to reset a WiFi extender? We’re here to help you out.

How to Reset a WiFi Extender
Resetting your WiFi extender is a pretty straightforward task. There are several ways to reset a WiFi extender, including using the reset button on the device or navigating to its control panel. If you’re not familiar with these things, stick to the following steps:
The easiest way to reset your WiFi extender is by using the reset button on the device.
WiFi extenders feature a reset button that can come in handy if you struggle with the extender. It is typically located on the side of the device, but this depends on the manufacturer’s design. Regardless of the manufacturer, finding the reset button shouldn’t be too hard, as a ‘Reset’ label should be written next to it.
Once you find the reset button, you’ll notice its recessed shape. You’ll need to use a paperclip or a SIM tool to be able to press it. With the proper tool, you’ll need to press and hold the button for around 10 seconds. When the device starts rebooting, a led light should start flashing, indicating that the device is resetting.
After the reboot is completed, you’ll need to give the device a couple of seconds to get back to its normal functioning. After 30 seconds, you should be able to access the extender as usual.
How to reset a WiFi extender using the configuration interface
If you’re not within walking distance of the extender or prefer to do things remotely, you can reset your WiFi extender using the configuration interface.
To do that, you’ll need to visit the web address provided by the extender’s manufacturer or enter the private IP address in the browser. Once you’ve entered the configuration interface, you’ll need to log in using the administrator username and password. The credentials vary depending on the manufacturer; you can usually find them in the user manual or the manufacturer’s website.
After providing the proper credentials, you’ll be granted access to the configuration interface of the extender.
Look for a tab or menu called ‘Management’ and a subtab or submenu called ‘System.’ In the ‘System’ section, you should be able to see the ‘Restore factory defaults’ button. Press it, click OK to confirm your choice, and continue with the factory reset.
Read more: How to Set Up Rockspace WiFi Extender

Will I Lose Any Data After Resetting the WiFi Extender?
Yes. If you perform a factory reset on your WiFi extender, you should know that the procedure will erase all your current settings.
Suppose you’re not entirely sure how you’ve set up the device but want to roll back to the previous state after resetting it. In that case, you might want to check the configuration settings from the configuration interface and write them down so you can successfully set them later.
However, some devices can make things significantly easier on you by allowing you to create a backup for your computer’s WiFi extender configuration. To take advantage of the possibility, if it is available, you’ll need to login into the configuration interface. Look for a setting called ‘System.’
If there’s an option to save your current configuration, it should be available through a click of a button called either ‘Save configuration to file’ or something similar. After downloading the file, you can use it later to load the configuration after resetting the device.
How to Reconnect the WiFi Extender to a Home Network
After learning how to reset a WiFi extender, you’ll probably want to know how you can reestablish a connection between your WiFi extender and the WiFi network. Since the factory reset will erase all your settings, you’ll need to recalibrate the device and reconnect it to the network it needs to enhance.
The easiest way to connect your WiFi extender to the network is with the help of a computer. Before you start, write down the SSID and password for your existing network.
Plug your extender into a power outlet. Next, connect your computer or laptop to the network using an ethernet cable or WiFi to pair the computer and the extender. Open a web browser, access the extender’s web-based interface, and log in.
After entering the web-based interface, look for the settings page, then enter the SSID and password of your wireless network. That’ll allow your extender to log into the network via the router. As soon as it establishes a stable connection, the extender will start rebroadcasting the data connection on the same SSID, covering a broader area.
Also read: How to Reset a Netgear Extender
Can a WiFi Extender Stop Working?
Many reasons could cause your WiFi extender to stop working. Heat and dust are the main problems that can ruin a WiFi extender. So can you tell whether your extender needs resetting or replacing?
If your WiFi extender is operating, there’s probably nothing wrong with it. There are no ‘symptoms’ indicating that the device will break down. Typically, a WiFi extender can work wonderfully one day and break down completely the next day.
Before you decide you need to replace an older WiFi extender, we recommend that you give resetting a try. After reading this article, you know everything about resetting an extender, so it will only take a couple of minutes to see whether a reset will solve your problems or if it is time to get a new one.