There is no doubt that a wired Ethernet connection offers reliability and stability, but how can you implement this internet connectivity around your house? It’s simple, and we will tell you how in the following section.

How to Run Ethernet Cable Through Walls in Several Steps
If you require permanent, stable, and fast internet connectivity, the best choice would be to go for a wired connection. So how to run Ethernet cable through walls as effectively as possible?
Running Ethernet cables through walls can easily be done if you have a plan, the required tools, know how much cable you will need, and where to place the router or modem. Depending on the material, you can also choose to place the cables on the interior or the exterior of the walls.
Considering all the factors above, let’s make a simple step-by-step schematic on how you can easily set up and incorporate Ethernet cables through the walls of your home.
Things to Consider Before You Start
Devise a plan and schematic
The first thing you need to do is make a plan. It is best to draw one, as this will give you a visual perspective of what you want to achieve. Start by thinking about where the Ethernet cable starting point will be and where it will pass.
If you want to run multiple cables for different rooms in your home, then it would be preferable for them to run together until a certain point where they have to split up. This will keep everything uniform and in one location.
You also want to think about the length of the cables. Ethernet cables will not degrade your connection speed if they’re below 328 feet. Anything above this length will significantly decrease internet connection quality and speed. So if you need to run long cables, consider adding network switches and amplifiers to boost the signal.
Make sure you have the required tools for the job
Before starting to implement your plan, you must ensure you have some required tools. Placing cables on the interior or exterior of walls cannot be possible without the required hand and electrical tools to get the job done easier.
First of all, you are going to need an electrical drill. An impact drill would be a better option, especially if the walls are concrete. You will also need drill bits of various sizes and types. There are metal, concrete, and concrete bits, each with their specific purpose. Paddle bits are also useful for drilling wider holes for the wire to feed through.
If you’re running the wire through drywall, you will need a set of markers, a stud finder, some isolation tape, and a drywall saw.
An Ethernet crimping tool is also a good thing to have should you damage the connector and need to attach a new one to the end of the wire.
Read more: How to Connect Ethernet Cable to a Wireless Router

Running the Cables
Start from the source
When running cables, it is best to start from the source of the signal. In this case, the main source of the internet signal will be your router.
You should strategically place the router to deliver high-speed wired and wireless internet connections. Avoid placing it between obstacles. Ideally, one end of the router is close to the wall the cables will run through so that they will remain well hidden behind it.
Run the cables to where they need to go
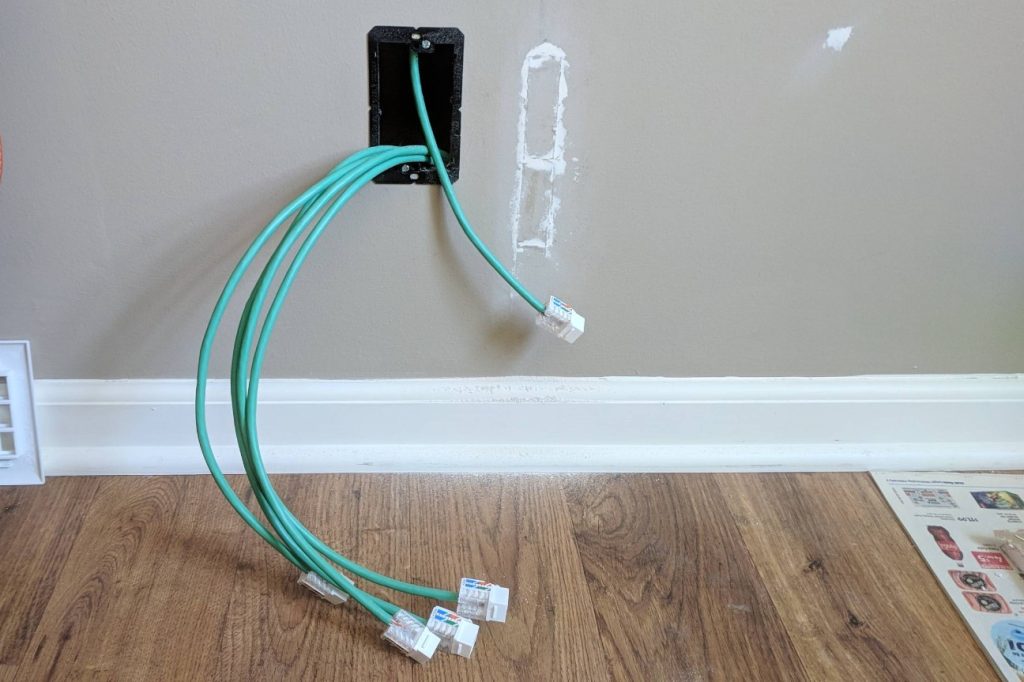
The first hole you will drill should be closest to the router; from there, you will start running the wires through the wall. Depending on where you want to run the wires, it is best to first pass them vertically to the ceiling and point them toward the direction of the existing wall. You can use the fish tape and the stud finder tools to help you run cables through drywall walls easier.
The job will be much easier if you’re using plastic cable concealers. Besides, they are your only option if the walls are made of concrete, and you don’t want to dig and make wire canals into them.
Plastic cable concealers are all mounted externally with plastic anchors and screws, for which you will need an impact drill. After you install them, simply place the cables inside and slide the protective covers.
Connect the cables directly to the device or a network switch
If you’re connecting the end of the cable directly to the device, that would be the last step to running an Ethernet cable through a wall.
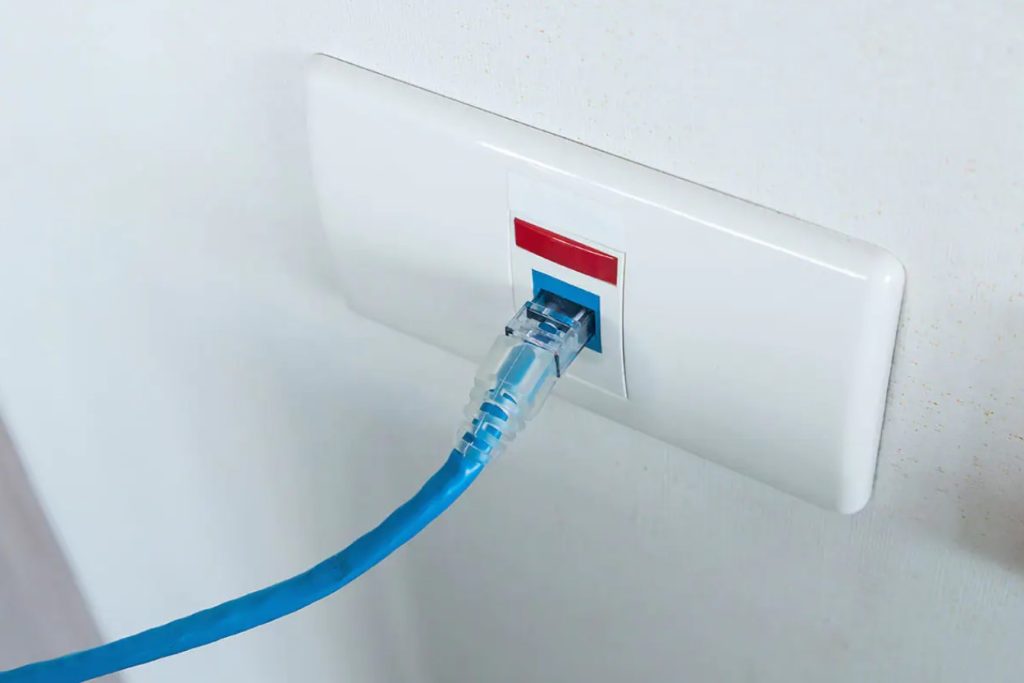
But if you need to divide one Ethernet cable into multiple ones, you should add a network switch to the end of the cable you ran through the wall. A network switch can be a separate device, or it can also be mounted into an opening on the wall where the Ethernet wire exits. The latter looks more visually appealing, and the connection with the wire is made internally.
It is a good idea to add the network switch as close to the end devices as possible and connect them with short Ethernet cables.
Why Should You Choose a Cable Connection Over a Wireless One?
A wired internet connection is better than a wireless one primarily because of its stability. Nothing beats a physical connection; high-traffic users know and appreciate this fact.
It is more complicated to install wires for this type of connection, though, since setting up a wireless router is much easier, but that doesn’t guarantee impeccable stability. Ethernet cables can also extend a wireless signal by connecting two routers, one of which can act as an Access Point.
So if you rely on a constant, high-traffic internet connection, both for business or pleasure, then choosing a wired Ethernet connection will be the smarter choice.
Also read: How to Fix a Weak WiFi Signal
Conclusion
Using a wired connection is a good idea, and now that you have no more doubts about how to run Ethernet cable through walls, we hope you will set everything successfully.