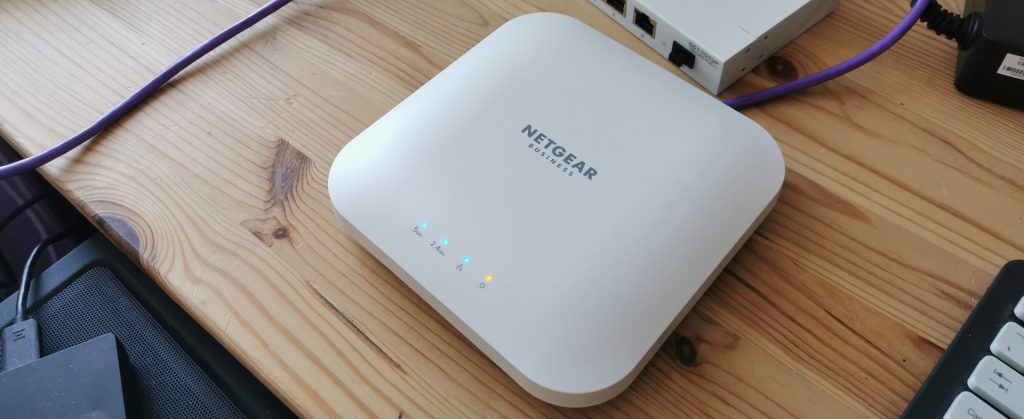
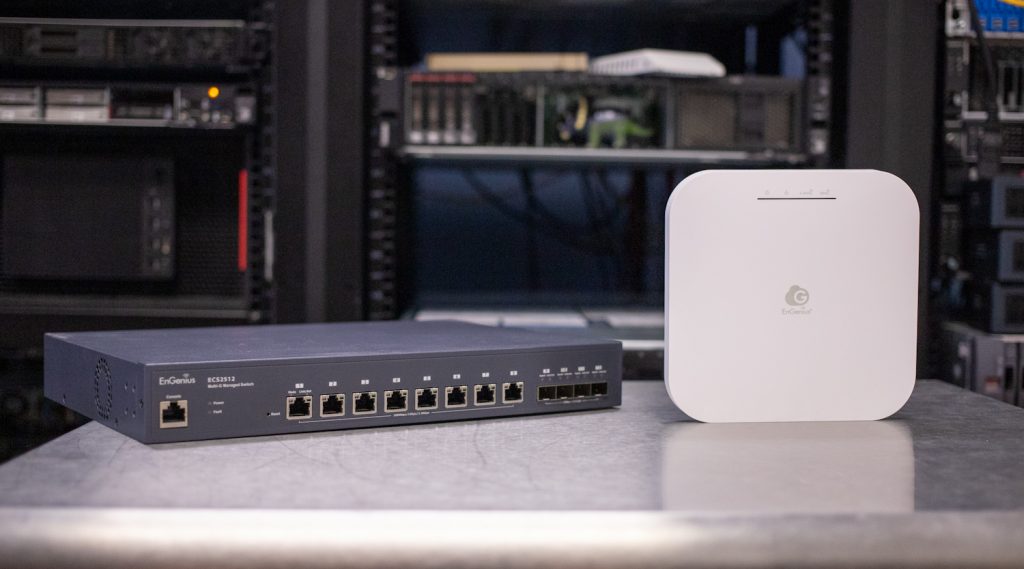
A wireless access point is a much better option than conventional wired networking. Whether you’re looking to set up a wireless access point at home or the office, setting up an access point will help you complete tasks and browse the net a lot easier.
But do you know how to set up a wireless access point? If you’re not that tech-savvy, continue reading, and we’ll reveal everything you need to know before setting one up.

How to Set Up a Wireless Access Point
Setting up a wireless access point may sound challenging, but once you start, you’ll see that it isn’t that hard. With the help of our guide, you’ll be able to set up your access point in a matter of minutes without too much trouble.
You’ll first need to set up the device and connect it to a modem, then tweak a couple of settings to enhance the security of your wireless access point. With no further ado, let’s get into it:
Connect the wireless access point to a modem
A wireless access point is a device that allows wireless devices to connect to a wired network. Therefore, the first step you need to take is to connect the device to a wired network using a modem.
Use an Ethernet cable to connect the wireless access point to a modem or router. Insert one part of the cable at an open LAN port of the modem or router and the other end to the available LAN port of the access point.
Put the device in place and plug it in
After connecting the access point to the network, you’ll need to find a convenient place where you can put it. Look for a central location that’ll provide good coverage across the area you want to cover. With the access point in place, you can plug it in.
Connect the wireless access point to a computer
With the access point up and running, you’ll need to connect it to a computer to complete the device’s configuration.
With the device connected to a computer, you’ll need to enter the IP address in the browser, accessing the device’s control panel or web interface. The IP address looks something like ‘192.168.1.1’ but differs from one device to another, so you’ll need to look it up.
You’ll be prompted with a login form asking for a username and password. If you don’t know the credentials, you should be able to find them in the device’s manual. Enter the administrator credentials, and you will be redirected to the web interface.
Setting up the basic settings for the wireless access point
Once you’ve logged into the device’s control panel, you’ll be able to view and modify all the default settings. We’ll list the most important settings you must tweak, but feel free to explore all the available settings and customize your wireless access point to meet your preferences.
Read more: How to Set Up Ubiquiti Access Point

Username and password
The first things you need to change before you deploy the wireless access point are username and password. Keeping the default username and password makes your access point more vulnerable to outside threats, so it is best to change these settings as quickly as possible.
Wireless connectivity
Although wireless connectivity should be enabled by default, you should double-check the setting to avoid hours of troubleshooting if you cannot see the network on your device. Find the wireless settings in the control panel view, and set it to enable. That way, you’ll turn the access point’s wireless capabilities on.
SSID
SSID stands for service set identifier and represents the access point name. It will be displayed to users when the access point is in range. Similar to the username and password, you should change the SSID as quickly as possible, as the default access point name may reveal information about the device and help third parties take advantage of its vulnerabilities.
Encryption
The next thing you need to do if you want to enhance the network’s security is to choose a security encryption type. The available options are wireless equivalent privacy or WEP and WiFi protected access or WPA/WPA2.
WiFi-protected access uses 256-bit encryption, while WEP typically uses 128-bit encryption, so we recommend using either WPA or WPA2 if available.
Network password
After choosing suitable encryption for the network, you’ll need to set up a password. Make sure you use a unique and strong password that’s hard to guess. The criteria for a solid password require that you use at least 8 characters, a mix of capital and lowercase letters, numbers, and special symbols to create a password that’s hard to crack.
The network password is the last on our list of the basic settings you must change before you start using the access point, so unless you want to customize some other settings, you can save the changes and connect to the wireless access point.
Clustering Wireless Access Points
When using a wireless access point, you should also consider clustering. Wireless access point clustering means joining multiple WAPs in the same network. The technology uses advanced intelligence that allows individual networks to work dynamically while simplifying wireless networking.
Clustering allows users to configure and manage the clustered wireless network and work with it as if it was a single entity, eliminating the repetitive work of configuring and reconfiguring each access point separately.
Also read: How to Set up a VPN Server
Do You Need a Router to Set Up a Wireless Access Point?
An access point is essentially a middleware that connects the end-point user to a wired network through wireless connectivity. Therefore, it needs to be hooked to an internet provider. However, the internet provider doesn’t have to be a router. Instead of attaching your access point to a router, you can connect it directly to the modem.
With that said, now you know how to set up a wireless access point and what equipment you will need for the process.