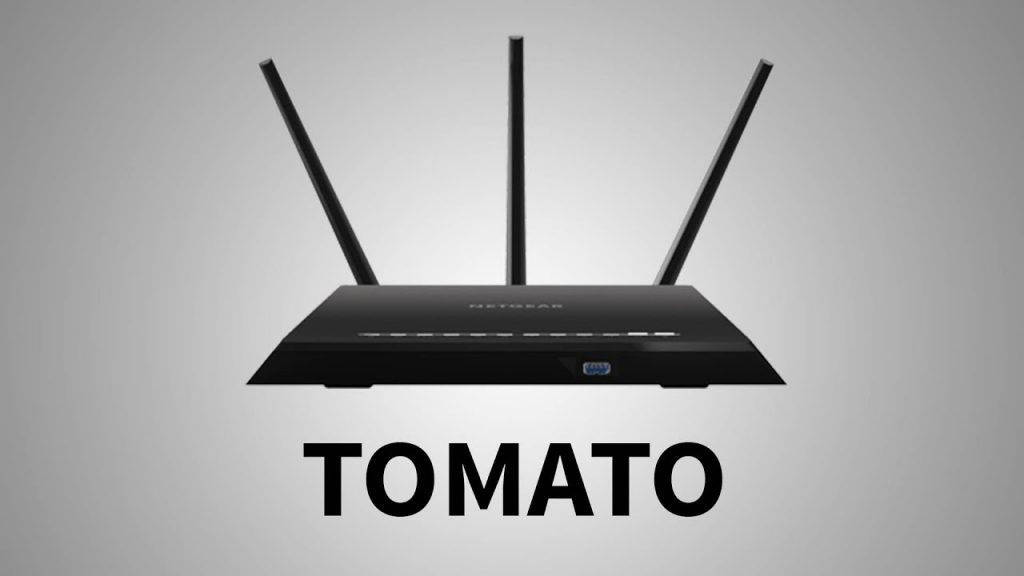
Flashing a router’s firmware can be a challenging process and one that many people don’t dare to attempt. However, you can do it if you have the proper guide.
So, if you’re also thinking about tomato flashing yourself, you’ve come to the right place, as this article has all the information to get you started and learn how to flash Tomato to a router. So, let’s get started!

How to Flash the Tomato Firmware to a Router
Tomato is an open-source Broadcom chipset firmware, and there are multiple ways to flash Tomato to a router, depending on the device’s manufacturer.
Flashing Tomato to a router is the same as installing it, and the process is different depending on the router’s brand and model. It is a straightforward process that can be done by upgrading the firmware from the web-based utility or using special client software to upload it to the router.
We will explain both methods of flashing a router with the Tomato Firmware, which will be similar for many router brands and models.
Step-by-Step Guide
Flashing a router using a TFTP client software utility
The first method of flashing a router is using a special TFTP (Trivial File Transfer Protocol) software. You can flash almost all ASUS router firmware versions by using this method.
Download the required software and firmware
You can download the required TFTP client software from the router’s official manufacturer website.
Once you download the software, download the Tomato Firmware compatible with your router model. Make sure to select the proper version, as you risk the chance to brick your device permanently.
Begin the flashing process
Start the TFTP client software and select the Tomato Firmware you downloaded. It is crucial to open the application’s firmware files but not press the “Upload” button. You first need to put the router manually into recovery mode and then upload the new firmware files to it.
Read more: How To Update WiFi Drivers
Put the router into recovery mode
Most routers are manually put into recovery mode, which is a state when the router is prepared to receive new firmware. To do this, you need to:
- Disconnect the power to the router.
- Press and hold the “Reset” button on the back of the router, and while holding it, plug the power cord back in and continue holding it for ten more seconds.
- Once you notice the power signal light blinking, release the button.

Upload the Tomato Firmware and clear the NVRAM
Now you can freely click the “Upload” button in the TFTP client software and upload the firmware files to the router. It is important not to interrupt this process. Don’t disconnect the device from the computer or the power source because you risk bricking it.
After uploading the firmware, you must clear the NVRAM inside the router. The NVRAM is where personalized user settings are stored for each device, like network preferences, names, passwords, etc. It is important to clear this memory portion, as it may contain data from the old firmware you replaced. To do this, follow these steps:
- Disconnect the router from the power source.
- Locate the WPS button on the back of the router and press it.
- While holding the WPS button pressed, connect the router back to the power outlet and wait ten more seconds without releasing it.
- Release the button and wait a few minutes before connecting to the router’s web-based utility.
Connect to the router’s configuration utility
The last step is to connect to your router via the web-based configuration utility and set it up using your newly installed Tomato Firmware.
Flashing a router directly from the web-based configuration utility
The second method to flash a router with Tomato Firmware is by installing it directly from the web-based configuration utility. Most Linksys routers are flashed using this method.
Flashing a Tomato Firmware to a router by using this method is very simple. You must access the router’s web-based configuration utility and search for the option to update/upgrade the firmware. Select the firmware files from there and hit upload. Make sure not to change any other settings while the flashing process is ongoing.
Purpose and Benefits
Now that you know how to flash Tomato to a router let’s look at what it actually is and its benefits.
The Tomato Firmware is a custom firmware developed by many collaborating individuals who changed its code and implemented many useful features into it. Tomato is open-source, which means its code is available for all developers to tweak and improve.
The firmware is specifically meant for Broadcom-manufactured chipsets, which are incorporated in almost all router device brands and models. Some of the benefits that Tomato offers are:
- Increased manageability of your router
- Increased network, security, and monitoring capabilities
- Better WiFi control with improved MAC address filtering
- An easier way to set up a WiFi repeater
- Easily created guest networks for third-party access.
Potential Risks
Flashing a router with new firmware, regardless of its model, brings a certain risk with it that is worth mentioning.
The only risk of flashing a router with custom firmware is that you may permanently brick it. What is meant by “brick” is that a device is damaged beyond repair because of software or hardware-related problems. In this case, it would be a software problem that bricks your router for good. Bricking a router can happen for several reasons:
- You’ve installed an incompatible custom firmware version into your router
- You’ve interrupted the flashing process
- Malicious software such as malware has corrupted essential firmware files inside the router.
Conclusion
Performing a firmware update is a scary thought to many people. If you’re a tech enthusiast, you also know the risks, but now that you know the two main ways how to flash Tomato to a router, we hope you will have the courage to improve your router and use many of its features.