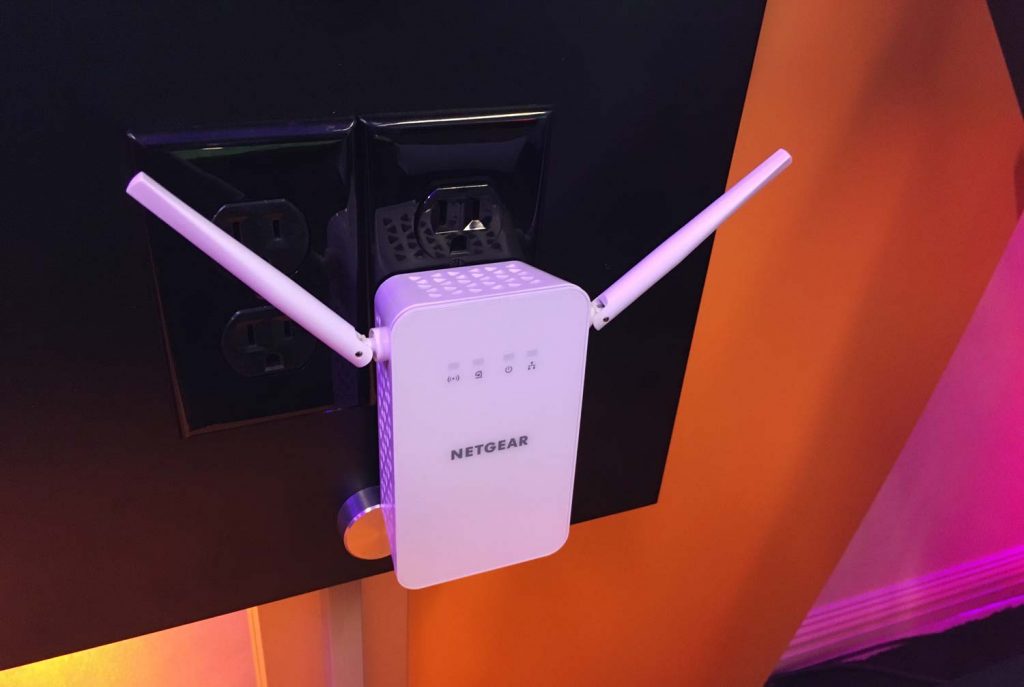
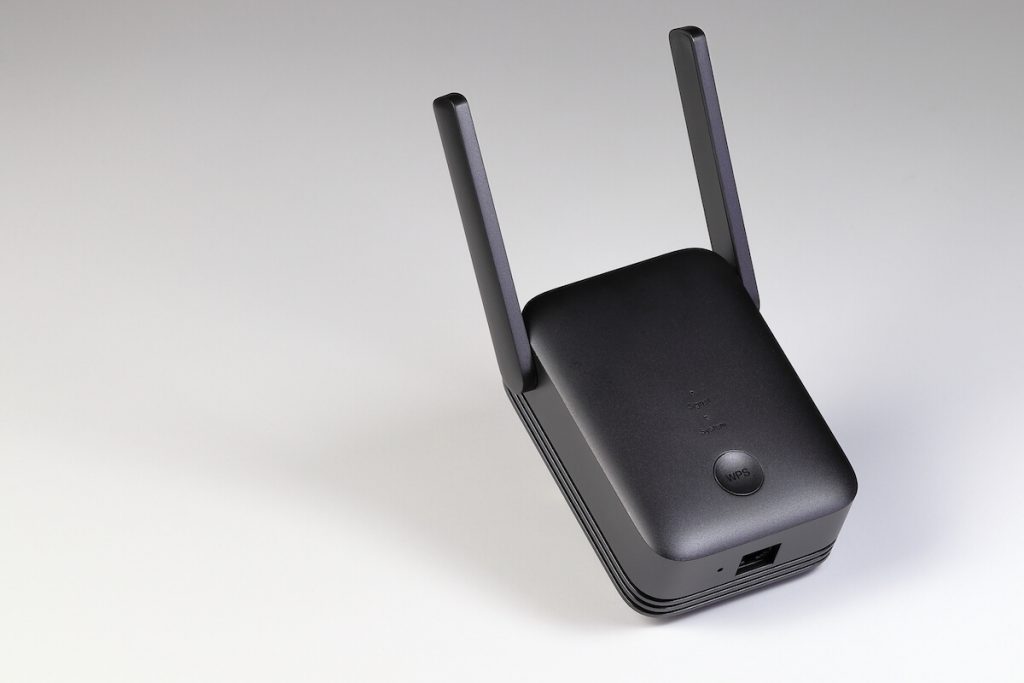
Spending money on an internet package that doesn’t even reach the expected internet limit is a waste. Luckily, WiFi repeaters exist and can help you extend the signal to any part of your home.
Even though this little device might look very simple, setting it up can seem somewhat challenging. You don’t need to spend money on paying a technician since we will share with you the easiest method of how to set up WiFi repeater by yourself. Let’s get started!

How to Set Up WiFi Repeater
Position the WiFi extender in the blind spot where you aren’t getting a good signal. When it appears in the available network range, connect with the repeater. Open the web browser and type in the following IP address 192.168.10, then continue to configure the WiFi extender and select “Reaper Extender Mode”. Refresh the page, and it will be available to use it.
Step-By-Step Guide
Step 1: Place the WiFi extender
First, you want to ensure that you get a decent WiFi signal from your existing WiFi; otherwise, the range extender won’t. Also, determine if your WiFi signal is bad; then, naturally, the case will be the same with the extender.
Consider the location where you’ll be placing the extender; ideally, it would be in the blind spot where your WiFi signal is the lowest or where you like to spend your time using the Internet the most. After you place the repeater in the power socket, power it on and wait a couple of minutes.
Step 2: Connect with the computer
Using an Ethernet cable, connect the repeater to any computer. This is the recommended option by many manufacturers; however, if there isn’t an Ethernet port available, you can connect with the repeater through the default wireless network.
Open your WiFi network ranges and connect with the WiFi extender. Once they are connected, you will notice that there is no network; this is expected. In the next step, we will set the WiFi repeater configuration.
Step 3: Access the WiFi repeater setup page
Some models might have a specific configuration, so in this case, check the user manual to see if there are any particular instructions. Otherwise, follow this step.
Open the “Network Status” option from the Control Panel section on your computer. Here access the option labeled “Tasks”. After clicking on the “Tasks” option, select “Local Area Network” and open “Properties”. In the blank field for the IP address, type in the following numbers 192.168.10.
Step 4: Alternative access to the WiFi repeater setup page
Open your web browser, and you’ll be redirected to your wireless repeater login page to set up the network properties.
Suppose you don’t get automatically redirected to the WiFi repeater admin page after you open the browser; if not, type in the same IP address, 192.168.10, in the search bar.
Now, you’ll be asked to provide the login credentials. Check whether the package contains the username and password credentials. If not, they enter ‘admin’ in both fields.
Read more: How to Set Up Rockspace WiFi Extender

Step 5: Set up the wireless repeater
Now, you’ll enter the WiFi repeater and set up the wizard. Select “Wireless Repeater” mode and then turn on the “Repeater OneKey Setting”.
Finally, click the “Refresh List” option to pair your WiFi repeater with your router. Then, you’ll see your router’s wireless network. Your extender is now available in your network.
Click on the “WiFi repeater” to input the password, select “Pre Shared Key”, then “Apply”, and next “Reboot”. Now your WiFi repeater will reboot, and you can start using it.
Common Problems With WiFi Repeaters
As with any other device, the WiFi repeaters aren’t flawless; they have their own set of drawbacks regarding signal strength.
This happens because the wireless transmission doubles the signal, and it must jump from the router to the repeater to enable the connection.
Slow connection issues
The WiFi repeater’s main goal is to straighten your WiFi signal, in case you’ve noticed that there is no improvement in this aspect. You might want to consider relocating your WiFi extender to be closer to the area where you are spending most of the time browsing on the Internet.
While placing the WiFi extender, make sure it’s positioned higher, which means it’s not recommended to put it on mobile power outlets that stay on the floor. Also, the extender needs to be placed near the router and, most importantly, not around any areas with many physical obstacles.
No internet access issues
Turn off the antivirus
If you cannot access the Internet with your WiFi extender, try turning off the antivirus and performing the setup instructions again. Even if it states that it’s connected, disabling the antivirus can sometimes resolve the issue without connection.
Update the WiFi extender to the latest firmware
Another common reason why you aren’t able to access the Internet connection is if you are using outdated firmware. Check whether there are any updates for your WiFi repeater firmware and ensure it’s running the latest version.
Reduce the device traffic
Having a lot of devices connected to the same WiFi repeater can cause high traffic and disable the Internet connection. It’s recommended not to use too many devices; instead, split them between your router and extender.
Also read: How to Fix a Weak WiFi Signal
Conclusion
WiFi repeaters are, without any doubt, the smartest infestation to strengthen your WiFi signal anywhere in the house.
Be careful since it wouldn’t take too long to cause problems with your connection if you have too many. Thus, we hope you have learned how to set up WiFi repeater properly and be ready if any issues happen.
Suppose you have an original gadget and are still having trouble setting it up. In that case, you can still contact the manufacturer and ask for assistance, open their official webpage, or check the manual to see if there is any specific way to be done.