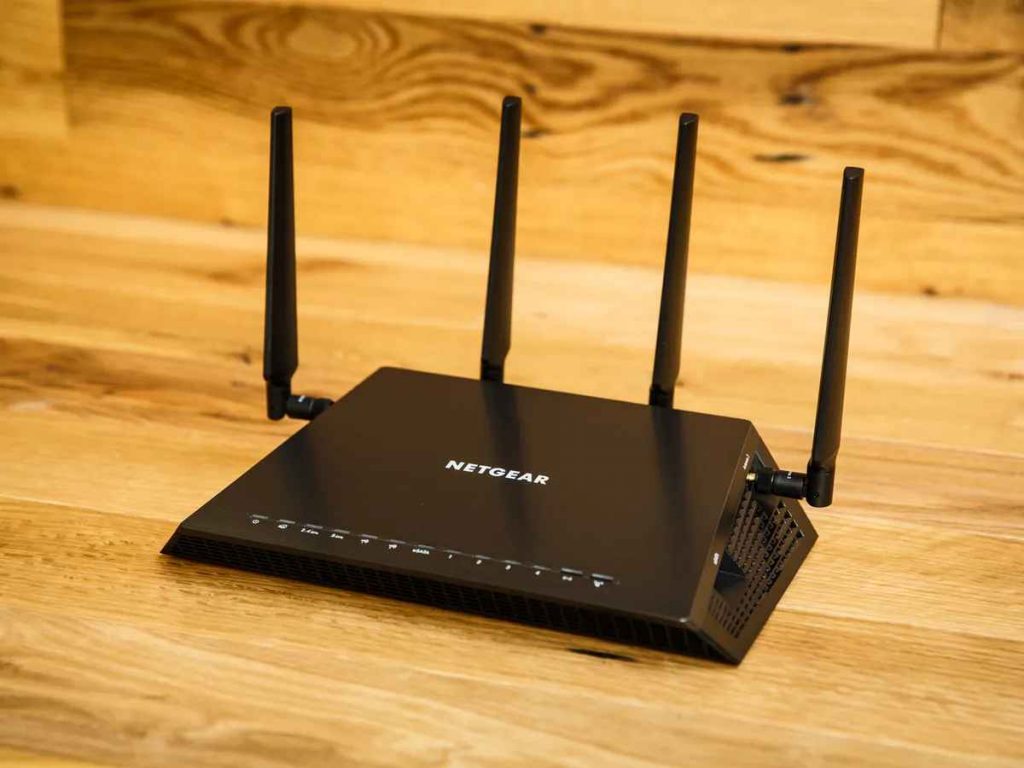
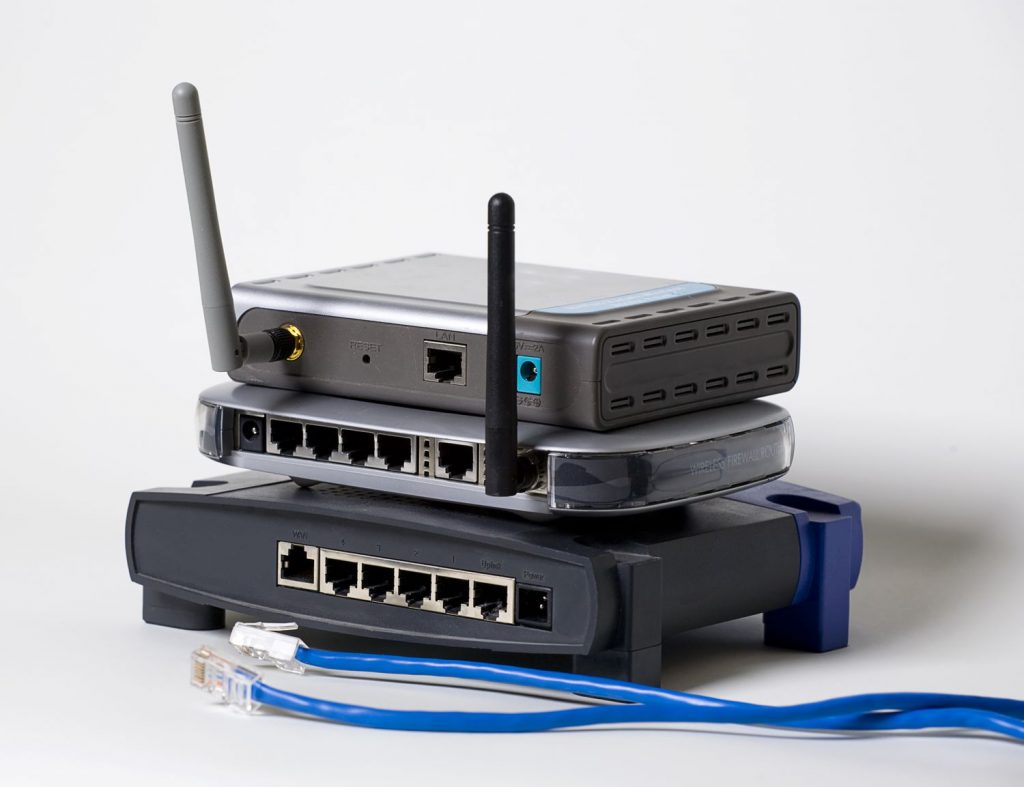
If you are facing a bad internet connection and have tried everything till now, then perhaps you need to retire your old router and replace it with a new one. And no, you don’t have to set up a new network since you can easily do it using your existing one.
This is a great way to simplify things for you, so instead of putting in more work, you can easily swap the old router with a new one and reuse the same SSID and password combo.
However, if you want to know how to connect a new router to an existing network, follow the instructions in the section down below.

How to Connect a New Router to an Existing Network
There are two methods for connecting a new router to an existing network. The one we recommend is to establish the new router using the same SSID as the previous one. Even though all the previously connected devices will automatically disconnect, they will be able to connect with the wireless access point using the same credentials.
Of course, there is the option to set up a new router for the existing network, which would be a little bit more complicated; we will give you more detailed information in the next section.
Method 1: Connect new router with new SSID
Step 1. Assemble the new router
First, you’ll need to decide where you will place the new router; if it’s in the same location as the old one, then first, take off the cords from the old router.
If they are the same model, you can use them again or swap them with new ones. However, if it is another model, then you have to assemble it using its specific ones.
Plug the adapter into the power source and turn on the router. Now make sure the router is connected and it’s working.
Step 2. Connect the new router to the modem
Chances are you have already completed this step; in case you didn’t, take the Ethernet cable and place it in the Ethernet port of your modem; and on the other end of the cable, plug it into your router. Power on the devices and make sure they are working.
Step 3. Reset the new router to the factory configuration
What you want to do now is reset your new router to the factory configuration. Find the Reset button on the back of the device and push it inwards. Wait for a couple of seconds and release the hold.
Now your new router will turn to its default settings.
Step 4. Access your router configuration page
Open any web browser and access your router’s default configuration page or put the default IP address 192.168.0.1 to the address bar. Log in to your new router admin page and access the LAN settings.
In the IP address field, type in the same IP address as the one from the existing access point.
Now you need to set up your network login credentials. Since most routers come with default login passwords and usernames, you can change them and set new ones. This method is recommended for stronger security.
Read more: How to Connect Ethernet Cable to a Wireless Router

Method 2: Connect the new router using the old network SSID
Step 1. Assemble the new router
Similarly, as in the case of the previous method, first, you want to remove the new router and assemble the new one. Connect the new router to the modem by placing the cords to the same ports as it was in the case with the previous one.
Connect the new router with the modem using the Ethernet cable, then connect the devices to the power outlet. Finally, turn on the devices.
Step 2. Make sure there is a connection available
If both the modem and the router LED lights are steady and not blinking, the connection is established. If not, look for any loose cords.
Step 3. Connect to the newly established router
Open your computer’s WiFi ranges, and you’ll see a new Access Point with the name of the router’s brand.
Open your router’s manual or check the router’s box and look whether it comes with pre-set username and password credentials and type them in to connect with the new WiFi range. If not, you’ll need to set it up yourself.
In this case, you’ll be reusing your old router’s SSID so everyone that was using the network will be able to reconnect with the new network range.
Step 4. Set up the new router using the old SSID
Open any web browser and type the default IP address 192.168.0.1 in the browser. Log in to your router’s Admin console from the menu and open the WiFi settings.
Type in the old router’s network name and password in the corresponding field and save the settings.
The new network will automatically shut down the previous SSID and disconnect the old devices; still, everyone who was previously using the network will be able to connect with the new one using the same credentials.
Common Issues and How to Resolve Them
Now that you know how to connect a new router to an existing network, let’s see some common network issues you can fix easily.
Do all wireless devices need updating?
One of the most common problems that you might be concerned about is whether you need to update all the wireless devices that were previously connected with the old router.
The answer is that as long as your security settings stay the same, you won’t need to re-establish the connection as they will be connected automatically.
Also read: How to Control Devices Connected to Your WiFi
Is it safe to reuse old SSID credentials with the new router?
Regarding safety, reusing your old SSID with the new router won’t necessarily cause any safety problems as long as you are sure that your WiFi wasn’t hacked or used by unauthorized devices with the previous router. Otherwise, we wouldn’t recommend this method.
However, if you want to reuse the old SSID, ensure you have configured the same encryption and haven’t changed the privacy settings that you were using with the previous router.