Looking to discover how to connect a router to a modem wirelessly? If so, you are in the right place. We have created this simple article to help you through the process. Thus, let’s start and learn how to do it without further ado!

How to Connect a Router to a Modem Wirelessly
There are a few factors to consider about connecting a Wi-Fi modem to a Wi-Fi router without a cable. The first factor is the separation between the router and the modem. A wire can be required to maintain a solid connection if they are too far apart.
The second factor is how many devices will use the modem and router. The router might be unable to handle the load if there are too many devices, in which case a cable would be required.
Lastly, the modem and router types must be compatible to connect without a wire. Now, let’s see in detail how to do it.
Step-By-Step Guide
You can use a wireless connection to link your router to your modem if you don’t want to use an Ethernet cable. To accomplish this, you must confirm that your modem and router are wirelessly compatible.
Moreover, a wireless adaptor for your PC is also required. Once you have everything you need, you must use a wireless connection to join your modem and router.
We’ll demonstrate how to wirelessly connect your modem to a router that supports the Repeater/Extender mode.
Step 1
It would help if you linked your PC to the router (either using an Ethernet cable or wirelessly). Open a browser and enter your router’s default IP address. Use your Admin login information to log in.
Then, look for the ‘Operation Mode’ or a similar option and select it. Choose ‘Repeater’ or ‘Extender’ from the available modes, and it will restart your router. You need to make a few more adjustments after it restarts.

Step 2
You must modify your router if it shares the same IP address as your gateway. Therefore, if your gateway’s default IP is 192.168.0.1, set your router’s default IP to 192.168.0.2.
Change your router’s default IP address to be on the same subnet as your gateway default IP (if it’s something like 192.168.10.1, change it to 192.168.0.2).
You must visit the router’s settings after a reboot, but this time, use your new default IP address (192.168.0.2).
Step 3
Find the network that needs to be repeated next. Locate a setting called ‘Connect to Network’, ‘Scan for Networks’, or anything along those lines, under ‘Wireless Settings’.
Connect to your network after conducting a network search. It would help if you connected using your gateway’s Wi-Fi password.
Your router will begin retransmitting the signal from your gateway as soon as you connect. Most of the time, your router and gateway share the same SSID, and when you check for accessible networks, you will only find one network name (when using your PC, phone, tablet, etc.).
Step 4
You must return to your router’s settings if you wish to observe two distinct networks (your gateway Wi-Fi and your router Wi-Fi). Find your router’s Wi-Fi network name and password by opening ‘Wireless Settings’.
Simply changing the name or the name and password is an option. When you save the settings and log out, your gateway network and your router’s (repeater) network will be two distinct networks.
Read more: How to Hide Modem and Router

What if Your Wireless Router Is Not Set Up?
If your wireless router is not set up, don’t worry because there is a solution for that too. All you have to do is follow the simple steps below.
Step 1
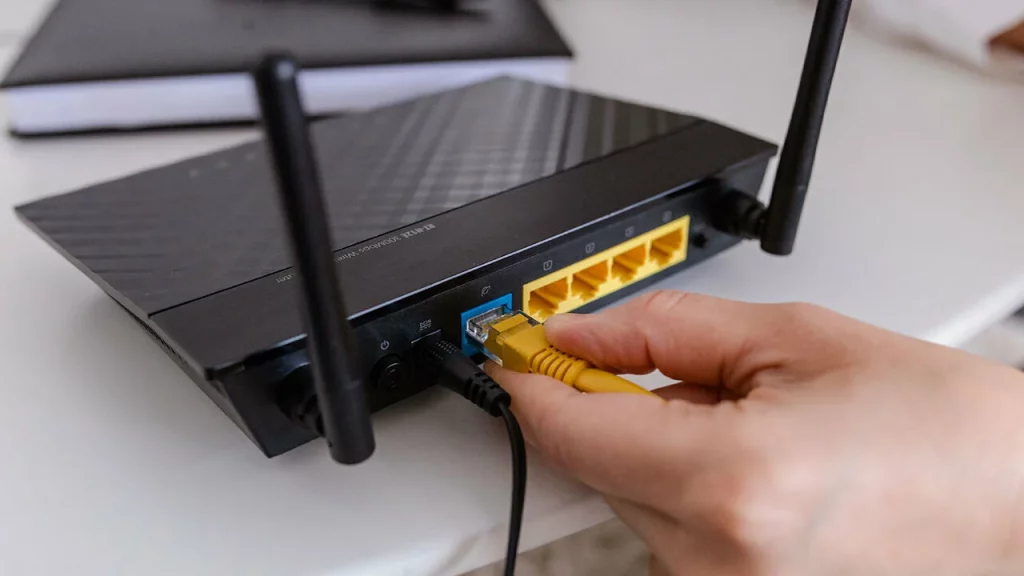
It will help if you use an Ethernet cable first to attach your modem to the WAN port. After that, connect the power adapter for your router to the wall.
Then, please give your router a minute to establish a network. Download the app related to the modem in the meantime (if another connection option is offered).
Modern modems may usually be set up using a smartphone app that will guide you through the procedure step-by-step. It is the most efficient approach, but you must pick the proper app.
For example, Linksys has its setup and administration app, and NETGEAR utilizes the Nighthawk app. You should find instructions on how to use each program in your manual.
Step 2
In this step, you should join your hidden Wi-Fi network. It is typically easy to do that; select the ‘Wi-Fi/Network’ option in the settings menu on your phone or computer. Look for the name of your router here. The default network key and the default SSID name for your router should be printed on the back of the router.
To access the network, use the key. These procedures should be adequate if your router doesn’t allow you to scan a QR code to complete the process.
Step 3
After connecting, use the router administration app to start configuring. An alternative way is to manually connect a computer to your router with an Ethernet connection if it doesn’t have an app.
Go to your router’s configuration page once you’re connected. It’s customary to set up your router’s settings using this page, which is a web page housed on your router.
You can find it in various methods, but it almost usually requires entering 192.168.1.1 and pressing ‘Enter’ in the address box of your preferred browser.
However, if that address doesn’t work, your router can use a completely different address. If the 192.168.1.1 IP doesn’t work, check your router’s official documentation, as this address can vary depending on your router.
Also read: How to Turn off Internet Access at Night

Conclusion
Well, we hope now you know how to connect a router to a modem wirelessly. Also, you saw what you need to do if your wireless router is not set up.
Therefore, change the system’s default IP address and enjoy a good internet connection without cables.
Best of luck!