If you want more WiFi coverage in your home and are wondering how to connect AT&T WiFi extender, you are in the right place. With the help of our article and the in-depth and step-by-step instructions we share, you will be able to connect your AT&T WiFi extender in no time successfully.
All you will need to do is go carefully through all the steps, and we guarantee you will not need any professional IT assistance from any IT expert!

How to Connect AT&T WiFi Extender
Although the process of connecting an AT&T WiFi extender might sound complicated, we promise you it is not. We have provided and equipped you with all the essential information you need, and you simply need to go through the instructions carefully and follow them.
Moreover, one thing you need to do before reading how to connect AT&T WiFi extender is to ensure that you have the following necessary devices so that your AT&T WiFi extender works correctly. You will need:
- Internet service
- The AT&T Smart Home Manager application (installed on your preferred smart device)
- AirTies 4920
- BGW210, 5268AC, or NVG599 WiFi gateway
After ensuring that you are prepared with the necessary equipment, you may continue on the actual steps of how to connect AT&T WiFi extender below.
Related: What WiFi Extenders Work With AT&T?
Unpack your kit
Before you start connecting your AT&T WiFi extender, you must unpack your kit and ensure that you have all the necessary equipment. After you do so, you must inspect every piece of the kit thoroughly to ensure that everything is in order and that there is no potential physical damage to the devices and cords.
When you confirm that everything in your kit looks new and in great condition, you may proceed and connect the extender to the power outlet. After you are done, you will have to install the Smart Home Manager application. You can see how to do that in the section below. But before we continue with the application, we will list what your AT&T extender kit should contain.
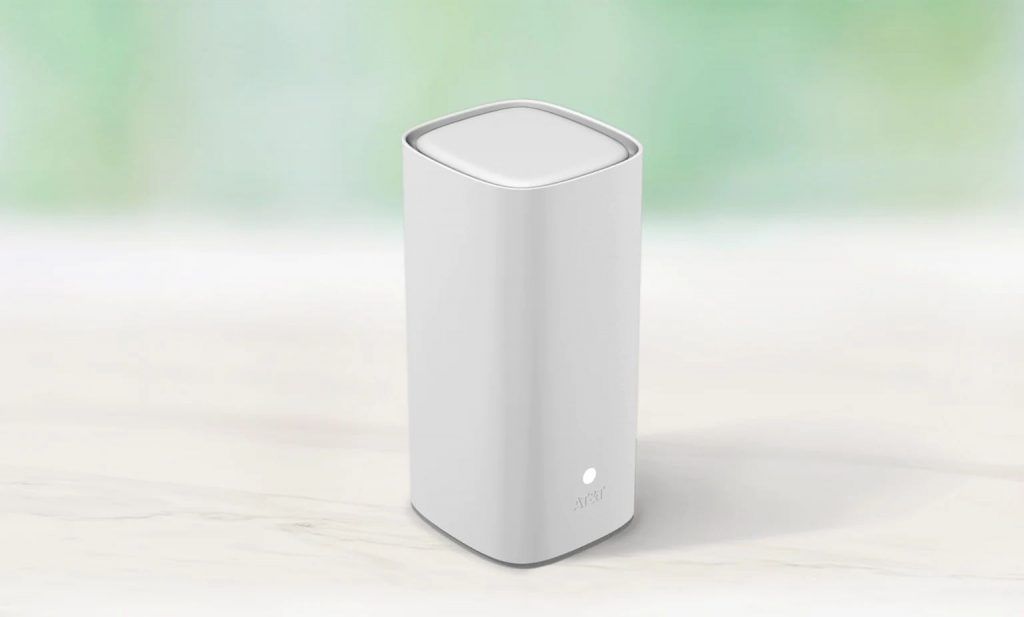
- WiFi extender (the main device) – ensure to carefully remove the plastic protective covering before you start using it
- Power cord – the main cord through which you will plug your AT&T WiFi extender into the power outlet
- Ethernet cable – an optional and alternative cable if you prefer to have a wired instead of a wireless connection
Install the Smart Home Manager application
After you have successfully established and connected your AT&T WiFi extender, the next step you will have to do is install the Smart Home Manager application, through which you will have full control over your WiFi extender and through which you can adjust, change, and modify the extender and WiFi settings according to your needs and wishes.
To install the Smart Home Manager application, you will need to follow these few straightforward steps:
- You are first required to open the App Store or Google Play Store on your smartphone and search for the AT&T Smart Manager Home application.
- When you find the app, download it and open it.
- After opening the Smart Home Manager app, you must sign in with your AT&T Internet Member ID or user ID and password.
- From the settings, locate the “Tools” option and tap on it.
- Finally, under the Tools option, find Install smart WiFi extenders and click on it. After doing so, your AT&T WiFi extender will be all set up and ready to use.

How to know that your At&T WiFi extender is connected
The main thing you need to know about your AT&T extender is that it will not appear as a new device when you connect it because it has the same WiFi network name and password. As this situation leaves many people wondering whether they have correctly connected their AT&T WiFi extender, we will share with you the two essential indicators that show that your extender is indeed working.
- Open and use your Smart Home Management application to check whether the AT&T extender shows on your network. If your extender is connected, it should appear in the Devices section.
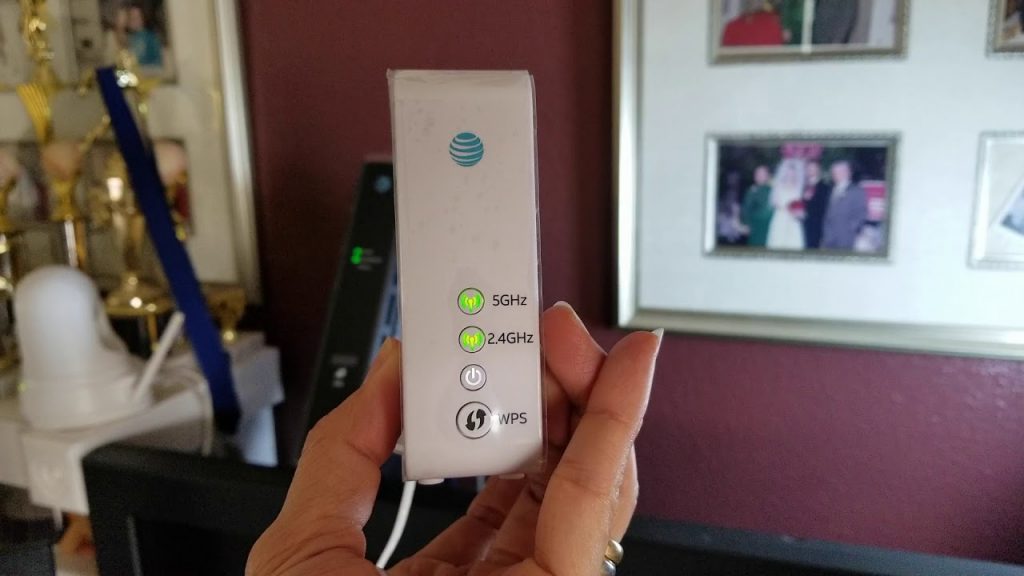
- The second main indicator that your AT&T WiFi extender is connected, functioning, and paired is when the light on the extender is solid green. This means that the device has been successfully connected and is doing its job.
Alternative Setup Methods
If you have difficulties connecting your AT&T extender in the standard way, we offer you two alternative connection and setup methods through which we do not doubt you will be able to connect your AT&T WiFi extender successfully.
Also read: How to Set Up Rockspace WiFi Extender
Power up, pair, and place
Power up
- Take the power cord of your WiFi extender and plug it into a power outlet. Ensure the power outlet is close to or near your AT&T WiFi gateway.
- Next, find and push the power button on the back of your WiFi extender.
- Finally, wait for about two to three minutes until the light blinks green.
Pair
- First, you must press the WPS button on the AT&T WiFi gateway. (Ensure that the WPS is enabled; otherwise, this will not work.)
- Press the WPS button on your WiFi extender as well.
- Ultimately, wait for about three minutes until both devices pair, which will result in turning the flashing green light to solid green.
Place
- Take your WiFi extender and unplug it from the power outlet.
- Move your WiFi extender to a new location between the area where you want a stronger signal and your WiFi gateway.
- Plug your WiFi extender back into the power and wait until the light turns green.
Connect with Ethernet
- Take one end of the yellow Ethernet cable and attach it to an Ethernet port on your WiFi extender and the other on the back of the gateway.
- Take the power supply and attach one end to the extender and the other to the power outlet. When the light turns green, the WiFi extender has been connected successfully.
Conclusion
In this article, we have shared the right methods and included some additional alternative ways how to connect AT&T WiFi extender. By following our simple and specific instructions, we do not doubt that in no time, you will be able to connect your WiFi extender and make it ready for use.