Internet safety should be your top priority in today’s world because of its threat to many personal and private assets. Data stored on your computer or smartphone can easily be accessed by third parties if your WiFi network is not properly secured.
The best way to secure it is by implementing a WPA2-PSK protocol and disabling WPS. The latter may seem convenient, but it’s not that effective regarding security. Let’s now see how you can disable WiFi Protected Setup and in what ways it can be breached.

How to Disable WiFi Protected Setup (WPS)
Even though WPS is an easier way to connect to your wireless network, you still wish to disable it for any reason. In this article, you will learn how to disable WPS on router, regardless of the router’s model.
The best way to disable WPS is through the web-based configuration interface installed with each router. Some routers may also have a dedicated installation procedure, through which you can choose to enable or disable WPS right from the initial setup.
Below, we will explain how best to disable WPS on your router by presenting a generalized step-by-step guide. Each router model is different, so we cannot explain the process for each one individually.
Just know that the process is similar, and you should be able to disable WPS on your router by following our instructions.
Read more: What Is WPS On A Router?
Step-by-Step Guide on How to Disable WPS on Router
Leaving WPS turned on is a convenient but not secure option. To create a stable and secure WiFi network, follow these steps to disable WPS first.
Step 1. Log into the web-based configuration utility
The first thing to do is log into the web-based configuration utility of your router. Every router has this utility built-in, no matter the type or model.
To log in, you must open your web browser and type in the router’s IP address. The most common IP address that many routers use is 192.168.0.1. If you enter the address correctly, a window should appear, demanding a username and password. Routers frequently use the word “admin” for both fields.
You can also look at the back of the router or the user manual for more information.
Once you log into the utility, multiple options will be available, but don’t become overwhelmed. You should look for a menu tab called “Wireless” or “WLAN”. WPS is most commonly situated there since it’s a wireless feature.
Once you find the WPS settings option, disable it and save the changes you made. The router may require a reboot, which is perfectly normal.
Step 3. Set a new security protocol (optional)
If setting the router for the first time, you will also want to add a new security protocol to your WiFi network. We highly recommend you do this to protect your network from unauthorized access by other people.
Do this by selecting the “Security” tab and accessing that menu. You can set the WPA2 PSK encryption protocol, which offers the best network security. Simply enter a pin or password, a mix of characters only you will know, but remember to write it down in case you forget it.

Why It’s Better to Disable WPS
WPS has two ways of securing your WiFi network, both of which can be compromised.
A pin method
The weakest link of the entire WPS security protocol is the pin. Every router device that supports WPS has a preset pin printed on the sticker, which you need to enter when connecting a device to the network.
For example, this pin can easily be accessed by a neighbor, as all they would need to do is take a picture of it on the underside of the router and use it to gain access to your network without you knowing about it.
The pin that most router manufacturers preset often consists of 8 digits. Out of these 8 digits, only the first four are checked and sent to the client-side device, which requests authorization to connect.
Using special software, a hacker can find these four digits out of 11.000 possible combinations, through which the rest will show up easily, bypassing your network’s security. A brute force attack software such as Reaver can be used for this purpose.
The PBC method is more convenient and secure than the pin method because only people with devices near the router can gain access to the network.
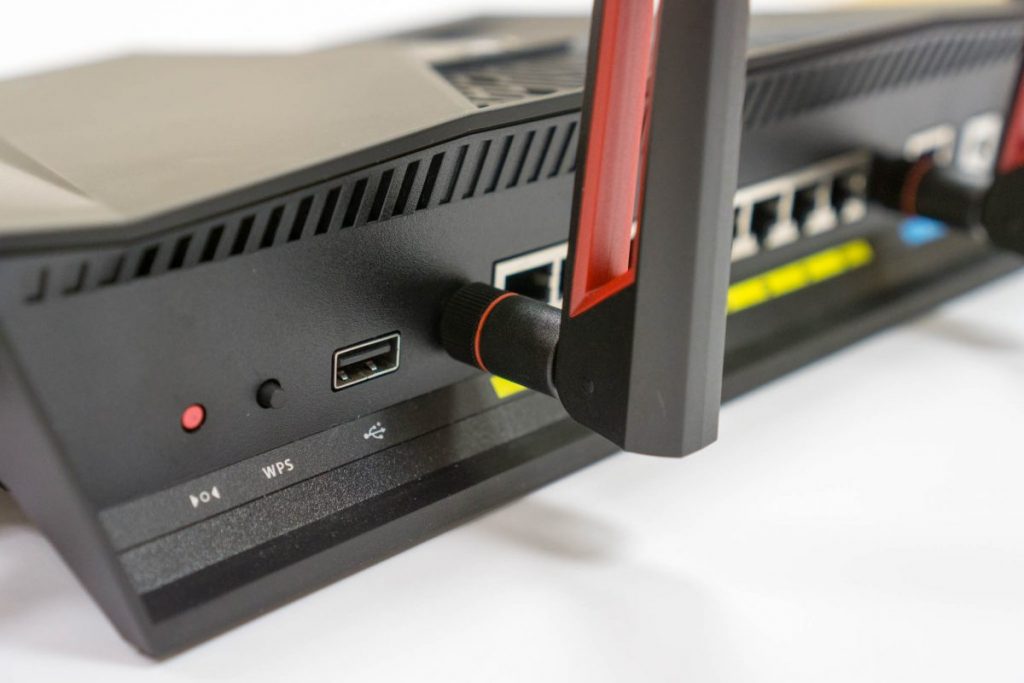
This method works by pressing a dedicated button on the router, enabling a limited-time connection window so that devices near the router can connect. This is a convenient way for people living in the same household to connect their computers and smartphones to the network easily.
The downside to this is that neighbors or guests can easily access your network if they visit since all they would need is to push a button and connect to the network without entering a pin.
Why It’s Beneficial to Use WPS
WPS was designed with convenience, which is the only main benefit of this technology. Many people don’t mind if their WiFi network is not that heavily secured and want a quick and easy way to access it from new devices.
WPS is essentially a tradeoff between convenience and security. We would advocate for security, and it is our opinion that having a more secure network is better than accessing it more easily.
Also read: Where Is the WPS Button on My Router?
Conclusion
So, should you use WPS on your network? We would highly advise you not to, and if you do, now you know how to disable WPS on router quickly and easily.
No matter how convenient this technology is, it still poses a great risk to your network’s security. It pays a lot more to be able to avoid security issues than to be able to connect your devices faster to a network.