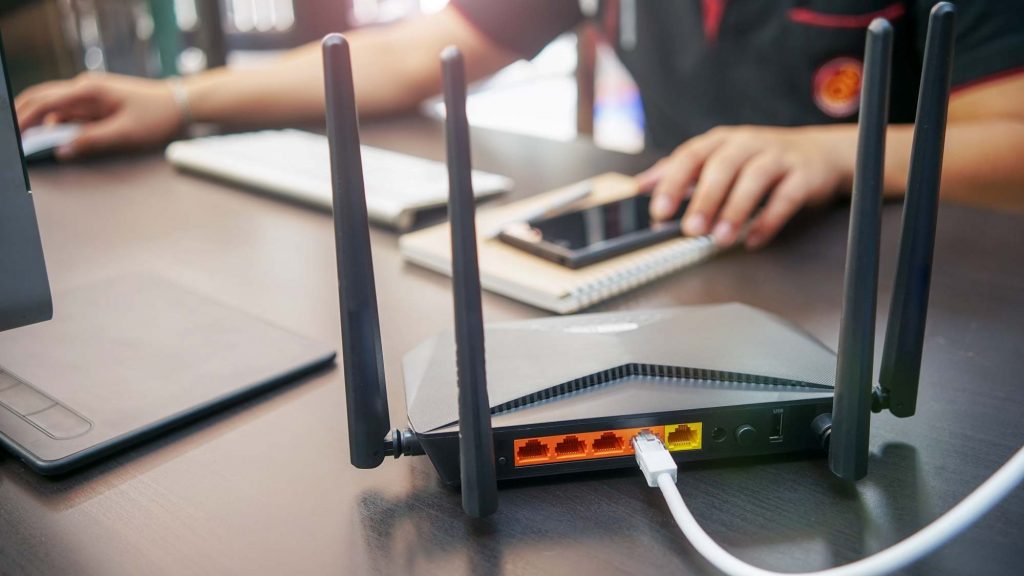
Using a default WiFi name and password puts your network at a higher risk of being hacked. Every kid with basic computer knowledge knows how to google the list of default WiFi names and passwords, making your network highly vulnerable to third-party attacks and safety breaches.
That’s why you should change your router’s default settings as soon as you start using it. If you need help with that, read this article, and you’ll learn how to rename WiFi network in a few simple steps.

How to Rename WiFi Network
Although changing the WiFi name or SSID is straightforward and takes only a few minutes, many people overlook this step when setting up their home network.
There are several simple ways to rename a WiFi network, but the following are undoubtedly the best and simplest ones.
Using the router’s control panel
The best practice for renaming a WiFi network is using the router’s control panel. It can be accessed by entering the router’s IP address in a browser.
If you don’t know your IP name, there are simple ways to look it up, whether you’re using Windows, macOS, or Linux. It should look something like 192.168.1.1. Once you have the router’s IP name, enter it in the browser’s address bar, and a login page for the control panel should appear.
You might be prompted to download a mobile app if you’re using your mobile. Whether you’re on mobile or desktop, the next step will be entering the admin username and password to log into the control panel. These are usually some default values that should be listed in the router’s manual.
With the credentials correctly entered, you’ll be redirected to the router’s control panel, where you’ll see useful information, including the WiFi network name. If you’re having trouble locating it, try looking for an ‘SSID’ field which stands for service set identifier – the network’s name. Then, you can easily edit the network name and save the changes.
Resetting the router
If you’re having difficulties with the abovementioned method and cannot change the network’s name or save the changes made, you will need to reset the router.
Resetting the router isn’t a conventional method for changing the network’s name. Instead, it should only be used when you cannot change the router’s settings through the control panel.
In that case, you’ll need physical access to the router to reset it to its factory settings so that you can assign a new name to the network during the first sign-in.
You’ll need to locate the ‘Reset’ button to reset the router. It is usually a small, recessed button on the back of the router. Some routers have regular buttons, while for some models, you need to use a needle or a SIM tool. Next, you should press and hold the ‘Reset’ button for 30 seconds.
After 30 seconds, release the button, and the router should switch off and start rebooting. The procedure might take a while, so allow the device to finish resetting and proceed after the lights on the router go back to normal.
When the process finishes, it will reset the router’s SSID name and password to their default values, and you shouldn’t have any problems changing them through the control panel.
Related: How to Reset Asus Router

Why Shouldn’t You Use a Default SSID Name?
Using a default WiFi name puts a reg flag on your network and practically ‘invites’ hackers to ‘hop on in,’ and raid your network. A default SSID indicates that you care little about your network’s security, so noisy hackers, neighbors, and even curious children won’t hold back and will try to access your network.
The default network probably reveals your router’s make and model, so it won’t take much time for network raiders to look it up online and find the default password for the particular router. That way, your network is highly vulnerable to outside threats.
Furthermore, by revealing the router’s make and model, hackers will have less of a hard time picking up any device vulnerabilities and breaching your network.
What’s a Good WiFi Network Name?
The SSID is undoubtedly less important than the WiFi password, but that doesn’t mean you should leave it as default. Here are some tips that’ll help you create a unique and safer WiFi name that won’t attract the attention of hackers.
No personal information
You mustn’t include any personal data in the SSID name. You might be tempted to add some personal information to the WiFi network’s name, but that only makes it easier for hackers or neighbors to perform targeted attacks.
Let’s say you’ve named your network ‘Mike’s WiFi.’ In that case, any neighbor might try to log in to the network using a brute force attack by entering other personal data they know, like your surname, birthdate, etc., as the network’s password.
No silly names reassembling public networks
Naming your WiFi network after a public hotspot may sound funny, but you definitely won’t find it funny when users start trying to log into it. If you name your WiFi something like ‘McDonald’s WiFi’ or ‘T-Mobile Hotspot,’ you should expect people to try to log in to the ‘public network.’
Getting random login attempts from outside users might overload your router, leading to less processing power to handle requests made by authenticated users.
Read more: How to Access Router Settings From Phone
Conclusion
Now that you know how to rename WiFi network, you’re one step closer to more secure networking. However, changing only the SSID won’t do the trick unless you consider other useful safety features.
Therefore, to enhance your network’s safety, you should also consider creating a strong and unique password and setting up a proper level or type of encryption. Consider WPA3 as the most secure option, but beware that not all access points support it.
So, consider the information you have read, and you can rename and protect your WiFi network!