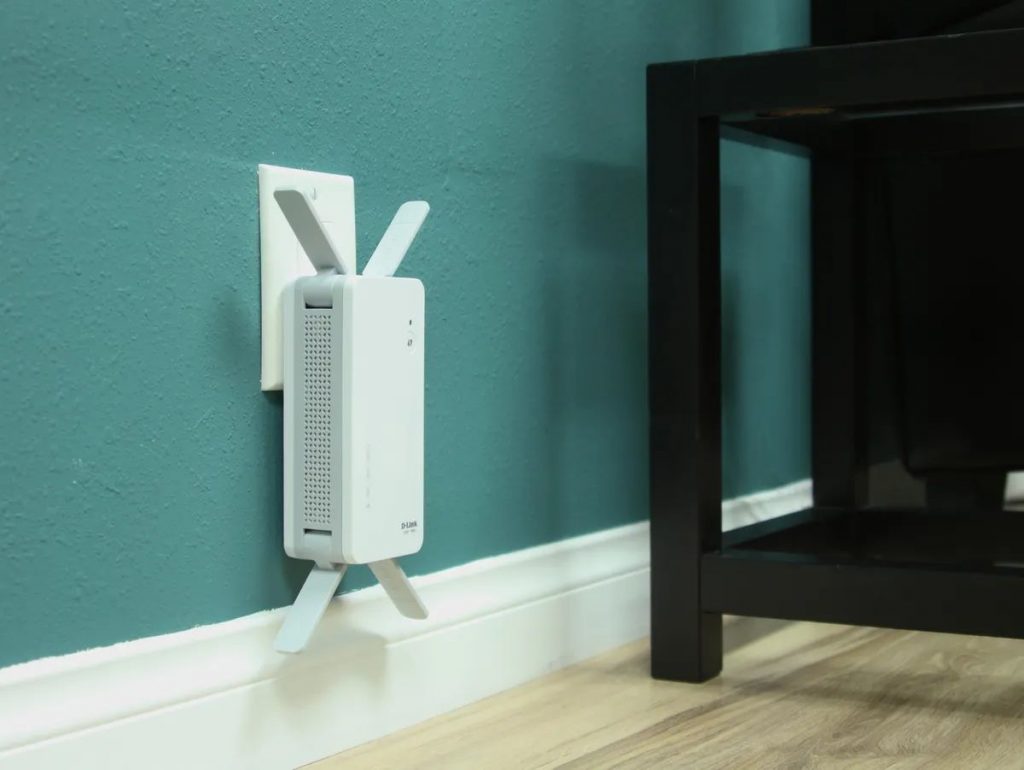
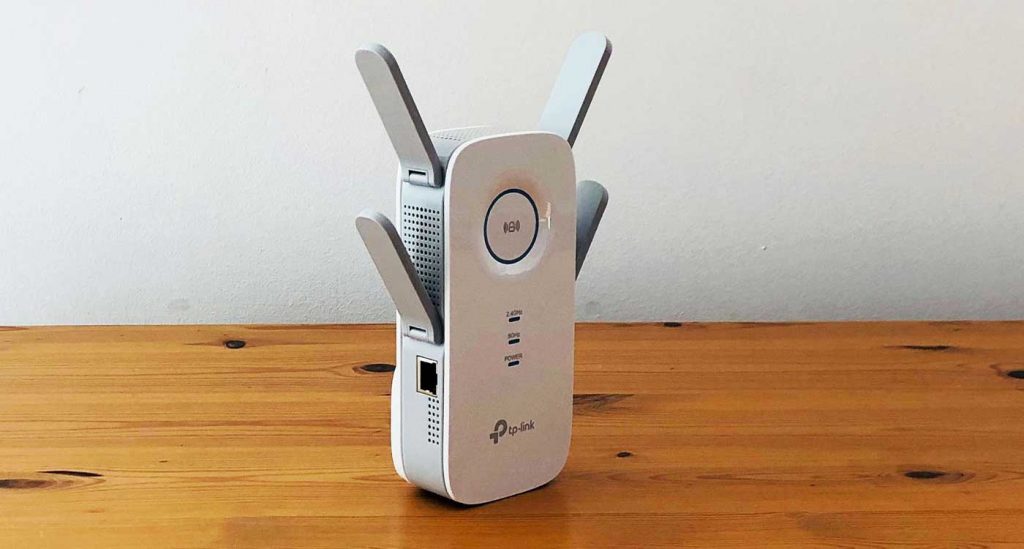
Whether you face WiFi connection issues or just want to boost the network at home, you can do it with a WiFi extender. The extenders are generally small and portable; you can place them anywhere.
If you have Xfinity internet service at home, you can buy the original xFi pods or go with a different extender. But, not every WiFi extender model is compatible with Xfinity. So, let us see which WiFi extenders can be connected and how to set up a WiFi extender with Xfinity.
There are two options to set up a WiFi extender, one is via your smartphone device, and the other is using a laptop or a computer and a cable. Both options will take a few minutes, and everyone can do them independently at home.

How to Set Up a WiFi Extender With Xfinity
Get the Xfinity app on your mobile device. The app is available on Google Play Store and Apple Store, and it is free. Connect the WiFi extender by choosing the setting “Add Device.” Let the app search for your extender and select it once it pops on the screen. Then, click “get started” and plug the extender into an outlet. Click “Finish Setup,” and you are done.
Setting up the WiFi extender via your phone is more straightforward and accessible. You can also go with the web version via your laptop or computer. Moreover, you should know that not you can pair every extender with Xfinity.
If you choose to set your xFi pods as WiFi extenders in your home, the process might be a little bit simpler and faster because the app finds them immediately and automatically sets them up. However, setting up an entirely different WiFi extender is also simple, but it might require some specific actions and a more stable WiFi connection.
If your Xfinity gateway and extender have WPS buttons, you can set them up by pressing the WPS buttons on both devices. If the devices have no WPS buttons, you can set them up through the Admin Panel method.
How to set up a WiFi extender with Xfinity depending on the model
Netgear WiFi extender
Plug the Netgear extender into the power outlet and ensure it is turned on. Get your smartphone and search for available WiFi networks. Locate and connect to the Netgear extender and open the web browser.
Open the mywifiext.net website. You must be connected to the Netgear extender; otherwise, you cannot open the website and proceed to the setup process.
Once you enter the website, you will be asked to choose your admin credentials. We recommend leaving them by default because you can forget the changed username and password in the future.
Your extender will search for the available WiFi networks. Find your WiFi network and enter its password. Complete the steps, and you will add your extender to the settings.
Now you can enjoy using the uninterrupted WiFi network in every corner of your house.
Read more: What WiFi Extenders Work With AT&T?

TP-Link WiFi extender
Plug the TP-Link device into a power outlet and turn your smartphone device to search for available WiFi networks. The name of the extender should be something that includes the model name (TP-Link).
Connect to the extender and open a web browser. Type 192.168.0.254 to open the extender’s website. You will be asked to set a password and access the extender’s settings.
Find the default gateway address on the list that will appear on the screen, click on it and enter the password. Set up the router, or set both 2.4 GHz and 5 GHz bands if it has two.
Tenda WiFi extender
Plug the Tenda WiFi extender into a power outlet and check if it is turned on. If the power LED is green, you can scan your smartphone device for available networks. If the power LED is off, check the power or plug it into a different power source.
Connect to the extender when it appears on the list, and open a web browser. In the web address bar, type re.tenda.cn and complete the steps that appear on the screen. Test the connection and enjoy the speedy WiFi everywhere in your home.
Also read: How to Set Up Rockspace WiFi Extender
xFi pods
xFi pods are WiFi extenders by Xfinity. These pods are tiny and easy to set up because they are the exact brand like your network provider. If you choose the xFi pods, you should know that they should not be set more than 30 meters away from the Xfinity gateway.
Log in to the Xfinity app using the Xfinity ID and follow these steps to complete the xFi pod setup:
- Find the “Overview” tab on the top left corner of the screen;
- Find and open the “Accounts” icon;
- Find the “Devices” option and choose “Activate xFi Pods”;
- Choose “Get Started” to begin the activation.
Then, you should activate your pods.
- Plug the pods into an outlet;
- Maintain 6 inches distance from the pod to enable the app to connect to the pod’s gateway;
- Plug in the rest pods if you want to place more than one xFi pod in your house;
- You can now set a name for the pods. We recommend naming them by the room they are in for easier recognition.
Conclusion
You don’t have to be a pro in setting up devices or WiFi networks to extend your home WiFi coverage. Also, the process is relatively easy and takes only a few minutes because everything is available on the Xfinity app or extender’s website.
When buying an extender device, ask the seller if it is compatible with Xfinity. Most major extender brands sell devices with xFi gateway compatibility, but it is good to ask again. Follow the steps in the article and learn how to set up a WiFi extender with Xfinity in minutes.
Enjoy the speedy WiFi connection everywhere!