By now, you have probably heard the term Bridge Mode. However, if you are like the biggest part of the world population that is not very experienced with the latest technological jargon, it is understandable that this term is a complete mystery.
Therefore, worry not because, in this article, we will take an in-depth look at what is Bridge Mode on a router and how you can take full advantage of this setting to improve your overall WiFi connection and network. So, keep reading!

What Is Bridge Mode on a Router?
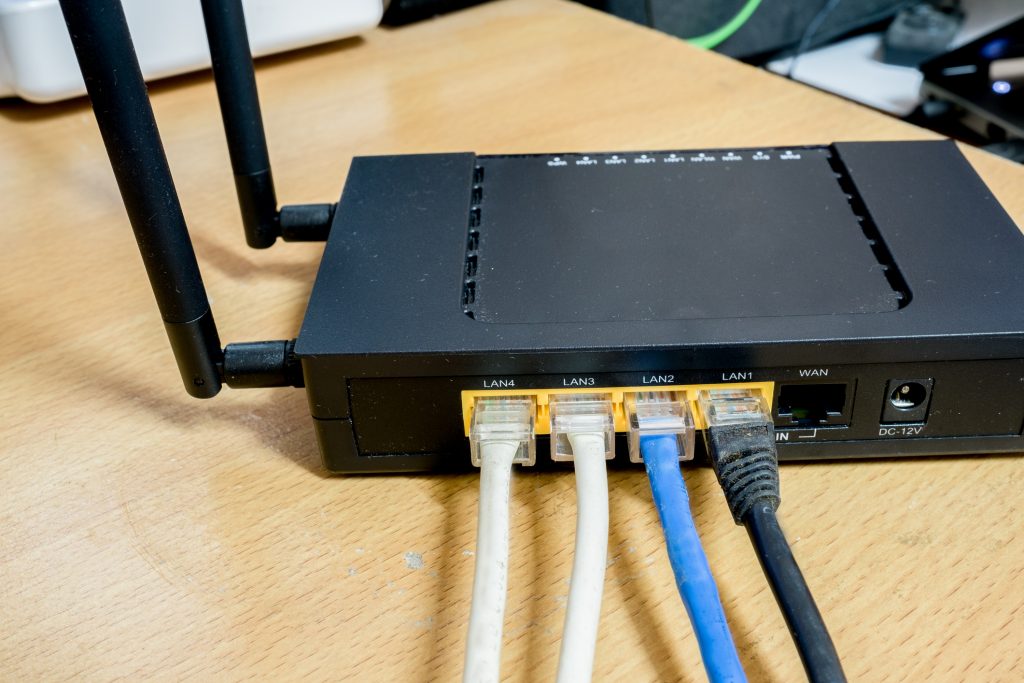
The most basic description of a Bridge Mode on a router is that this is one of your wireless network’s many advanced settings or features.
This particular setting is not necessary for the average users or homes but for the bigger offices, houses, or any other place where there is a mesh WiFi system, also known as a security router, or where there is a second or even third router within the same network.
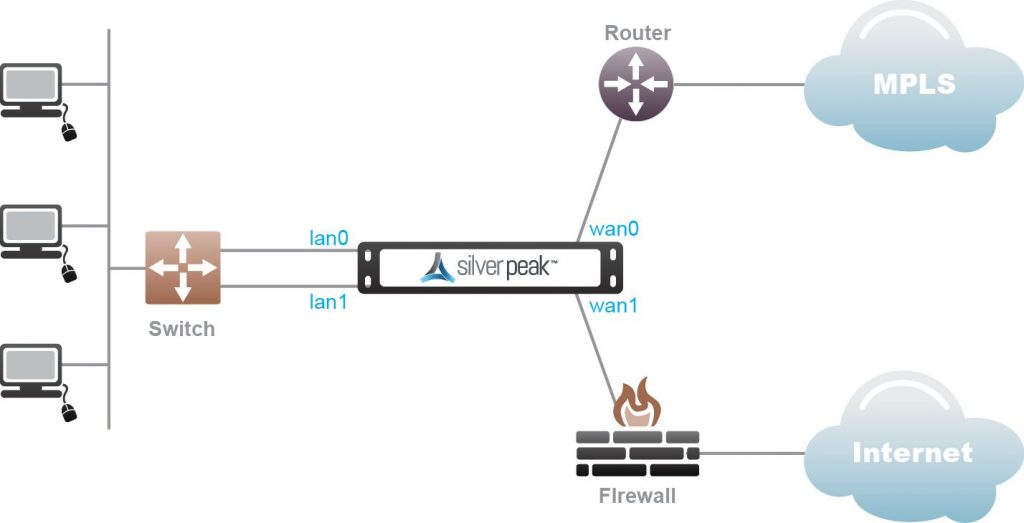
So, what does this Bridge Mode do? To keep it simple, this advanced wireless feature acts, as its name says, as a bridge between two or more routers while simultaneously enabling them to coexist and work without any issues.
Moreover, having multiple routers most of the time causes communication problems between the devices and the routers because their IP addresses and networks are private, the Bridge Mode enables multiple routers to use and share one WiFi network.
That being said, keep reading to discover how to set up this mode and learn every little detail you need to know about it for its optimal functioning.
When Should You Use the Bridge Mode on a Router?
So, now that you know what Bridge Mode is on a router, the next important thing we need to consider is when you should use this feature. As mentioned earlier, this feature is necessary only in a few case scenarios. It is not mandatory for better WiFi reception or strength if you only have one router.
Therefore, let’s check out in which situations it is recommended that you use the Bridge Mode on your router.
When you create a mesh WiFi system for your network
If you plan to extend your WiFi network and create a mesh WiFi system, the best thing you can do to avoid delays and slow internet connection is to activate Bridge Mode. With its help, the mesh WiFi system will be able to function seamlessly.
If you want to avoid NAT conflicts
As NAT conflicts, also known as Network Access Translation problems, tend to appear when two routers work simultaneously with a big distance between them, activating the Bridge Mode will take care of this problem efficiently.
Also, if you experience Double NAT issues, the Bridge Mode will take care of that and let the multiple routers use and share one WiFi network, so there is no more interference between them.
When you connect a second router to your WiFi network
The third major reason you would need to consider activating the Bridge Mode on a router is when you plan to connect a second router to your WiFi network. As the two routers might interfere and slow one another’s work, the Bridge Mode will act as a mediator and extend your WiFi network coverage.
Read more: What Is a Wireless Bridge?

Why Do You Need to Use the Bridge Mode?
Although there are many indications of why you need to use the Bridge Mode, we will take a look at the top three reasons and situations in which this mode is the most effective.
NAT issues
As mentioned earlier, NAT problems or Network Access Translation issues are among the most common reasons people decide to activate the Bridge Mode.
More specifically, if you have a modem with built-in NAT features and capabilities and connect it to a router with NAT, you might be looking at a possible network disaster that might cause numerous connectivity issues.
To prevent this, you must also activate the Bridge Mode when you connect the router to the modem.
To prevent IP addresses from conflicting and causing problems
When two or more IP addresses intertwine, you might experience a weak internet connection and malfunction between the connected devices. The Bridge Mode acts as a gathering palace for all of them so that all your devices connect to the same network.
To increase your WiFi coverage range and enable the devices to communicate smoothly
If your WiFi coverage is not wide enough and you have dead zones, you will probably cause the devices to lag and slowly load videos and pictures online.
By activating the Bridge Mode, you will increase the WiFi coverage range while removing any dead zones, resulting in smooth and limitless communication between your devices.
How to Set Up the Bridge Mode
The first thing you need to do before starting the process is to write down the essential information from the primary WiFi router to which you plan to connect the second one.
The info you will need is WiFi security mode, operating frequency, SSID, and wireless password. After gathering this information, you may continue to the next steps.
- First, you must open the browser using the network that the Bridge Mode will run in.
- Open the suitable website of your router and log in with your username and password.
- Find and open the “Settings” option and then click “Advanced Settings”.
- After doing so, you will need to click on the “Advanced Setup” option and finally click on the “Wireless Bridge”.
- Check the “Enable Bridge Mode” checkbox, click the “Setup” option for the Bridge Mode, and enter the settings of the other router, such as SSID, WiFi password, wireless frequency, and WiFi security mode.
- Ultimately, click “Apply” to save the changes you have made.
After carefully following these steps, you will have successfully activated the Bridge Mode on your router and eliminate the potential issues of having multiple WiFi routers at the same time.
Also read: How to Bridge a Router
Conclusion
In this article, we have explained in great detail what is Bridge Mode on a router and how you can use this feature to improve your overall WiFi network speed, quality, and connection.
If you have any further questions regarding the amazing Bridge Mode, feel free to contact us, and we’ll gladly help!