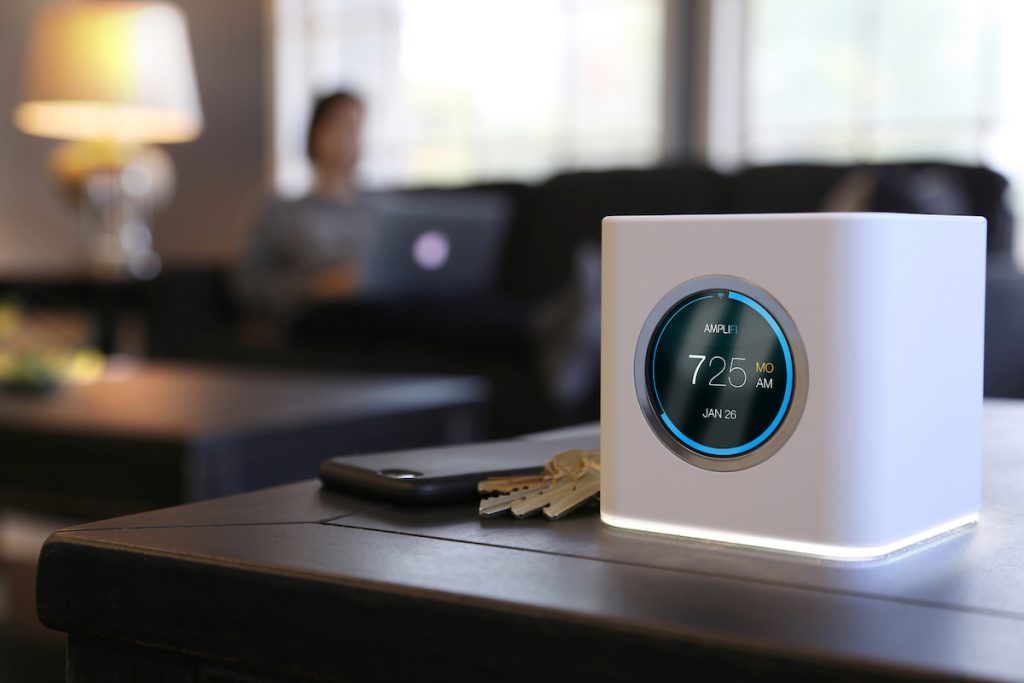
Mesh WiFi is ideal for offices or homes where your original router cannot provide enough WiFi coverage in all corners. Even though it might sound like something where you need to connect a few routers, as usual, the process might be a bit more complicated.
However, it doesn’t mean that you need to hire a technician to do it since we’ve explained the whole process in a simple step-by-step guide.
Follow the detailed instructions in the next section to learn how to set up mesh WiFi.

How to Set Up Mesh WiFi
Wondering how to set up mesh WiFi? First, pick an excellent central location for your router and determine how many nodes you’ll need to add to cover all the dead zones. If you are using Ethernet, connect the nodes through a LAN wire. Download your mesh network provider’s setup app and follow the installation instructions.
Setting up mesh WiFi step-by-step
Step 1: Determine how much network coverage you need
Setting up a mesh network doesn’t only mean going to the store and buying a mesh WiFi system. You’ll need to calculate the network coverage you need to determine how many nodes you need.
Measure the exact coverage from system to system, including structures that can be an interference. In this case, you’ll need to consider adding additional nodes.
Step 2: Set up the main router
As we mentioned earlier, a mesh network is recommended for large areas where your current WiFi broadcaster cannot reach, which is why it’s vital to determine the proper location where your router will be able to provide the best signal. This can include outdoor areas like the patio, balcony, etc.
Most importantly, keep in mind not to palace the router around any physical obstacles like walls or other ornaments since it might decrease the strength of the signal. Adjust the nodes depending on where you want to expand most networks.
Step 3: Configuring the mesh network
After setting up the router, the rest of the process is very straightforward.
Configuration of the mesh network isn’t particularly complex since most mesh systems come with an app with a setup wizard that automatically identifies the satellites and connects to them.
First, unplug the router you are using and the mesh network, and plug it in again so it can connect with your IP address. Now proceed to download the app by the mesh network brand you have chosen, and follow the installation steps.
Read more: How to Set Up Asus Aimesh

Step 4: Set up the main node
After finalizing the mesh network installation process, you’ll be required to set up the main node. Usually, it needs to be plugged into your main router by your network provider. You can use the additional nodes to extend the WiFi signal to areas where it’s the weakest.
Setting the main node can be done by selecting one location you would mainly use. You’ll need to provide a username and password for further security protection.
Step 5: Set up the additional nodes
Then proceed to add more nodes in the areas where your signal is the weakest. Choosing the correct location of the additional nodes is vital, so there are no dead zones in your space.
After you finish their setup, check the signal strength by performing a speed test with your device. Wired Ethernet connectivity in your home can connect the nodes through the LAN cable to provide a wired backhaul from the main router and offer better performance.
If you are using any gaming equipment during node setup, you must consider how you will connect these devices. The wireless connection frequently can cause interference which is why it is recommended to use a wired connection.
Step 6: Set up usage restrictions and limit access to certain content
The final step to setting up mesh WiFi is ensuring e-protected usage. It’s essential to set up specific usage restrictions and parental control depending on who will use it. Most mesh networks allow you to restrict internet access during certain times of the day or block certain pages like gambling and adult content. You can apply these restrictions to each user.
Also read: How to Set up a VPN Server
Common problems with mesh WiFi and how to resolve them
WiFi mesh network interference with nearby WiFi networks
Since WiFi emits radio signals, it’s very much prone to interference with other devices. Generally, it can be caused by existing ones coming from the same router brands. However, it’s not excluded as a reason for other electrical equipment like electric motors.
This type of interference with other nearby WiFi networks is one of the most common problems with mesh WiFi, so in this case, what you want to do is connect to a different WiFi node. You can enter your mesh WiFi app and change the channel settings.
Bad connection or weak mesh WiFi signal
Set up distance alert
To get the most out of your mesh network and make it as efficient as possible, set up an alert, so you’ll get notified anytime you are too distanced from the main node or the additional nodes you’ll be using.
Look for the weakest point
Perform a speed test in each node individually to determine where the signal is the strongest and if any adjustment is needed.
Use network priority feature
Use the network priority feature in case you have some important calls or meetings. This feature will give you a stronger signal by disabling all other devices connected to the network you are using.
Restart and relocate the mesh nodes
Turn off all the mesh nodes one by one and restart the router. Then turn each mesh node individually and wait for a couple of seconds so they will be able to reconnect again.
Alternatively, reposition the mesh nodes if you notice that some of them aren’t providing a good signal in certain parts of the area.