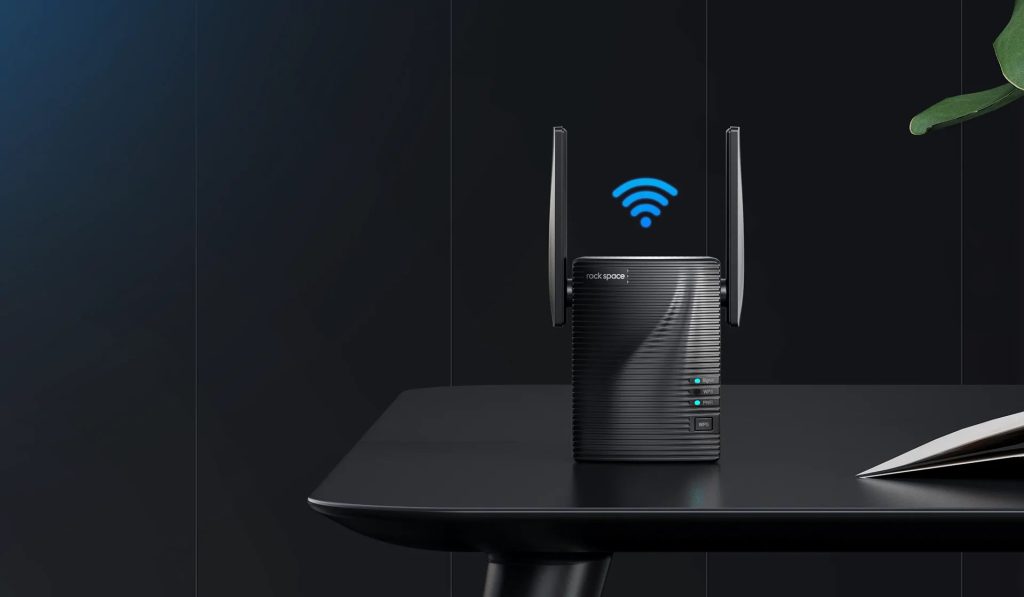
Are you struggling with poor Wi-Fi reception in your home or office? Have you decided to purchase the RockSpace Wi-Fi range extender but are unsure how to set it up correctly?
Don’t worry, as this article will guide you through the entire setup process. We covered everything on how to set up a RockSpace Wi-Fi range extender, even some common problems you might run into, so let’s start setting up your device.

How to Set Up a RockSpace Wi-Fi Range Extender
There are two ways to set up the RockSpace Wi-Fi Range extender: manually or using the dedicated WPS button. The manual method offers more versatility in configuration, while the WPS method is quicker and easier.
Which method you choose is entirely up to you. Choose the manual setup if you like personalizing the device’s settings according to your preferences. But if simplicity is what you’re after, then setting up the device using WPS is what you need.
Whatever the case, we will cover both methods in the following section, providing you with step-by-step instructions.
Step-by-Step Guide
As we’ve already said, there are two ways of setting up the RockSpace Wi-Fi range extender.
In the following sections, we will first explain the WPS button method, followed by the manual method where you set it up using a web browser.
The faster and easier way to set up this Wi-Fi range extender is using the WPS button located on the device. Note that your main router must also have a dedicated WPS button for this method to work.
To complete the setup using this method, follow these steps:
- Plug the extender into a power outlet, ensuring it’s within range of the router you wish to connect it to.
- Wait for the led light on the extender to turn blue, which indicates the device has turned on completely.
- The next step is to press the WPS button on the extender and wait for 1-2 minutes while the pairing process begins.
- Lastly, press the WPS button on your router and wait until the two devices connect.
- Once the WPS led on the extender turns solid blue, the pairing process is done.
Note that this method does everything automatically without the user having to adjust the settings.
If your router doesn’t have a WPS button, or you’re unable to pair your router with the RockSpace extender using the WPS button, then try the second method.
How to set up RockSpace Wi-Fi range extender using a web browser
Setting up the RockSpace Wi-Fi range extender using a browser can be done in two ways, wirelessly or with an ethernet cable. The process is the same for both methods, and which one you choose depends on what kind of computer you have.
If you have a standard PC without a wireless receiver, you must use an ethernet cable to connect to the device. But if you’re using a laptop to configure the extender, you can access it wirelessly.
Whichever way you choose, these are the steps to configure the RockSpace range extender manually:
- Connect your PC or laptop with the extender, wirelessly or with an ethernet cable
- Note that when you’re connecting to the device wirelessly, you need to select the network named “rockspace_EXT”
- Open a web browser and enter the device’s IP address which is 192.168.0.254
- You can also enter “re.rockspace.local” if the IP address doesn’t grant you access.
- Enter the login credentials for the device.
- Once you gain access, select the “extender” option to start pairing the device with your router and follow the instructions.
- Save the changes when you’re done, and position the extender where you think is best.
Common Problems and How to Solve Them
Setting up the RockSpace Wi-Fi range extender can sometimes be problematic. Here are the most common problems you may encounter during the setup process and what you can do to resolve them.
Inability to access the web-based configuration utility
If you’re having trouble accessing the extender’s web-based configuration utility, you first need to ensure you’ve connected to the “rockspace_EXT” network (if you’re trying to connect wirelessly).
If you’re using a computer to access the device, then it needs to be set to obtain both the IP and DNS server addresses automatically. You check this in the computer’s network settings.
The extender is unable to locate the Wi-Fi signal of your main router
The reason behind the extender’s inability to locate your primary router’s Wi-Fi signal may be the encryption method of your network.
The extender is compatible with WPA-PSK or WPA2-PSK encryption methods. So if your router is encrypted with either WEP or WPA/WPA2 Enterprise encryption methods, it will be unable to connect to its network.
Problems with the internet connection after successful pairing with the router
Internet connection problems may also occur, even after successfully pairing the devices. The most common cause of this problem is the position of the extender.
You can quickly diagnose this problem by checking the led lights on the extender. If the signal led is solid blue, the connection is strong, and there is no need to move the device. But if it’s solid red or blinking, the device may struggle to establish a connection, so you should relocate it.
To make sure nothing is wrong with the device’s hardware, connect it to the router using an Ethernet cable. Plug one end of the cable into the device and the other into one of the router’s LAN ports. The device works correctly if a strong internet connection is established.
Read more: Where to Place Wi-Fi Extender?
Conclusion
Now that you know the two ways how to set up a RockSpace Wi-Fi range extender, we hope you will choose this device and have internet access in every corner of your home or office. It is indeed a high-end and reliable device that perfectly does its job.