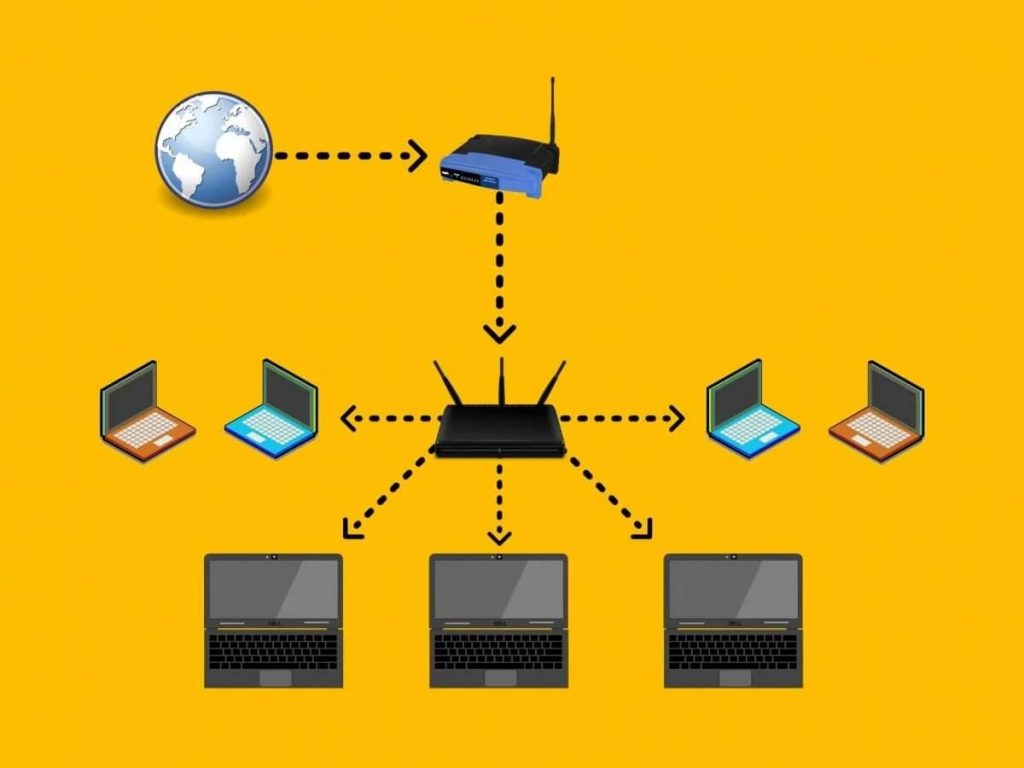
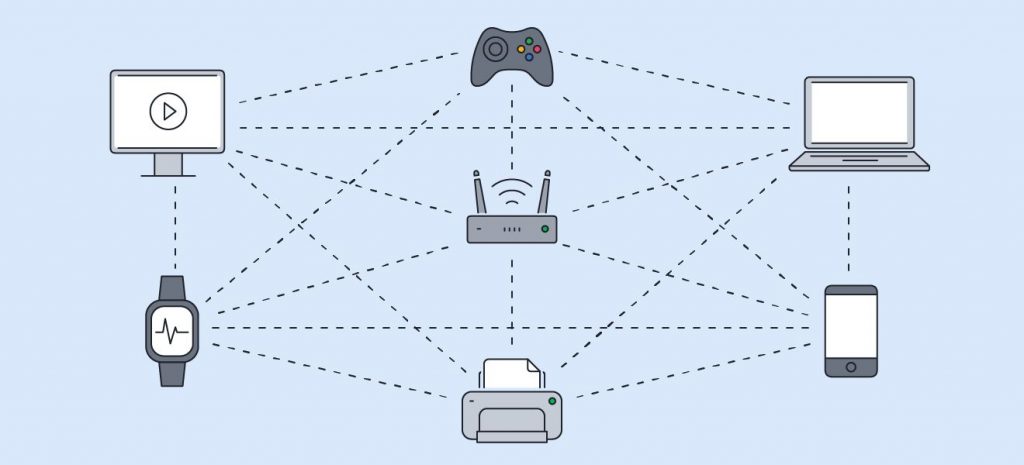
Experience lag or latency while gaming or trying to transfer data files can be very annoying. Your internet connection isn’t always the problem, as you may have the fastest download and upload speeds, but data transfers may seem slow.
The reason for this may be the overprotective behavior of your router’s NAT type, which means scanning every piece of data received into your devices, slowing down the data transfer rate. Because of this, you will need to change the NAT type on your router, which we will discuss in the next section of this article.

How to Change NAT Type on Router
There are three NAT types, and they are named Open (Type 1), Moderate (Type 2), and Strict (Type 3). Changing between these NAT types can also be done in three ways: using Port Forwarding, establishing a UPnP connection, and enabling DMZ.
Whichever you choose is up to you, but we will try our best to explain each term separately in the following sections, starting with the specific NAT types.
NAT types explained
As we’ve already said, there are three NAT types you can choose from:
Open (Type 1) NAT Type
The Open NAT Type provides the most internet data versatility and is not firewall protected. Open NAT has no restrictions, and all devices can send and receive data seamlessly. This NAT type is most suitable for gaming sessions and games that require high data transfers over the internet.
Moderate (Type 2) NAT Type
The moderate NAT type provides more security while leaving several ports open for direct communication. This NAT type uses a firewall to filter incoming and outgoing data packets and it’s the most widely used NAT type by internet-connected devices.
Strict (Type 3) NAT Type
The Strict NAT type is the most secure and safest of all the NAT types. Even though it protects your devices from unauthorized attacks by filtering all internet data packets, it is the reason for slower internet speeds. It is also not suitable for gamers that wish to host a game.
Read more: How to Fix a Strict NAT Type
Three ways to change NAT type on a router
Port Forwarding
This is one of the easiest ways to change the NAT type, which is very popular among gamers.
Port Forwarding gives you direct access to remote servers by connecting directly to their ports, thus gaining a lot of speed when transferring data. It means manually accessing remote servers and establishing a direct connection for maximum data flow. Gamers use this method to achieve seamless gameplay.
To enable Port Forwarding on your router:
- Access the router’s web-based configuration utility.
- Look for the Port Forwarding option.
- Input the game’s server ports into the port forwarding column.
- Input your device’s IP address into the other column.
- Choose between TCP or UDP, depending on your preference.
- Save the changes and restart the router.

UPnP (Universal Plug and Play)
UPnP is another easy way to change the NAT type, as it represents a kind of autonomous port forwarding. This means that it allows devices to connect automatically and find each other instead of you having to manually connect them by entering certain values.
You can change your router’s NAT using the UPnP method by following these steps:
- Access the router’s web-based configuration utility by entering its default gateway IP address.
- Search for the option to enable UPnP under “Settings”, “Advanced Settings,” or “Network Settings”, depending on the manufacturer and model of the router.
- Enable UPnP and restart the router for the changes to take effect.
- Your NAT Type will now no longer be Strict.
DMZ (Demilitarized Zone)
The term DMZ or Demilitarized Zone is used in computer networking to describe the division of local area networks from untrusted networks such as the public internet. They are also referred to as subnet networks because they are separate networks with access to a wide range of internet data while the rest of the network is kept private.
Dividing the network using separate subnet networks is a good way to protect it against hacking, as internal servers and data are better protected.
To enable DMZ on your router, do the following:
- Access your router’s configuration utility.
- Search for the option to enable DMZ, which should be located in the menu named “WAN”.
- Enabling this option will ask you to input additional information, like your IP address, Subnet Mask, or Default Gateway.
- Save the changes you made and restart the router.
Remember that by enabling DMZ, your IP address will become more exposed to the public network (the Internet), which means it will be less secure, but you will get an increase in internet transfer speeds.
Why Change NAT on a Router and Is It Safe?
Now that you know how to change NAT type on router let’s discuss why you need to change NAT and if it is safe to do so.
Changing the NAT type on your router is necessary if you’re a hard-core gamer or need high internet speeds with seamless data transfer capabilities.
Gamers use the options to change the NAT type all the time, which is how they can achieve seamless multiplayer gameplay sessions with minimal lag and latency.
When making changes to the NAT and converting it to Open or Type 1, you and your devices become more vulnerable to unauthorized cyber attacks. Your IP address becomes open to the Internet, with no firewall to safeguard the data packets that your devices receive.
But for your devices to be vulnerable, hackers would have to specifically target them, which is not that likely to happen. You should be safe and change the NAT type for a better experience if you don’t have any sensitive or high-priority information.
Also read: How to Enable UPnP on Router
Conclusion
With the three methods on how to change NAT type on router that we provided you, you should now have a general understanding of what you will gain by changing it.
Changing the NAT type has its pros and cons; it is up to you to assess them and see if it’s worth the risk.