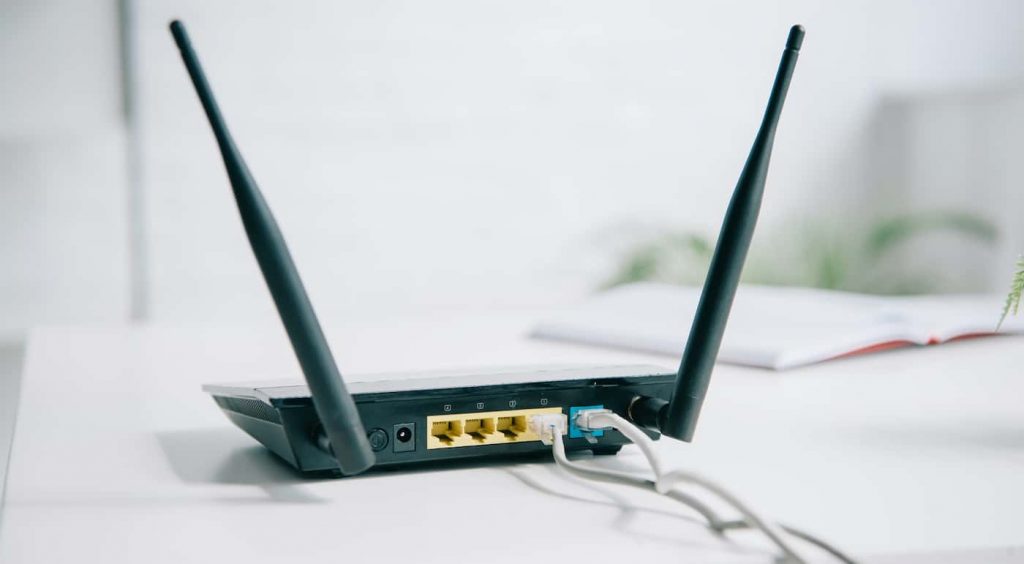
If your internet connection becomes low, if it takes forever to download a simple file, and you feel ready to switch to the world’s most loved 5GHz speed, keep reading this article as we offer many ways how to connect to 5GHz WiFi.
After you switch to this speed, you will notice a significant improvement in your internet connection experience, so let’s dive in!

How to Connect to 5GHz WiFi
As you probably already know, before 5GHz WiFi became a thing, we all used 2.4GHz WiFi speed, which was much slower because of the large amount of traffic on it. As this speed covered large geographical areas, it is no wonder that an increased number of people started complaining about the speed of their WiFi and wondering how to connect to 5GHz.
- First, you must open and log into your router’s settings page. You can do that by using the IP address provided by the router’s manufacturer or your service provider.
- After you log in, find the Basic wireless settings page and click on it to open it.
- Now comes the most important part. You must change the 802.11 band from a 2.4 GHz frequency.
- Finally, you must ensure that the channels have been set from 100 and 140 and, most importantly, that your device supports the 5GHz connection.
- Apply the changes and enjoy your new internet speed and power.
Therefore, if you are one of those people ready to take over the world through the power of 5GHz WiFi, in the next part, you can learn to connect to 5GHz WiFi, depending on your device.
Check the band
Before you start this process, you will need to check which band you are using on your WiFi and if your router supports the dual-band connection. To do so, you will need to check your device’s WiFi settings.
If your device supports the dual-band connection and 5GHz frequency, you will be able to see AC or 5G at the end of the WiFi network name.
After this, if you confirm that your device supports the 5GHz frequency, you might continue connecting it by following our step-by-step directions.
How to Connect to 5GHz With Different Devices
If you do not have control over the WiFi, you might try to change the settings on your device so that they always use the highest-quality WiFi setting or the 5GHz frequency.
Read more: How to Control Devices Connected to Your WiFi
Through your Windows
- From the menu of your Windows, you will need to open the Device Manager. You can do that by opening it from the list or searching for it by typing “devmgmt.msc” in the RUN dialog box of the Windows menu.
- When you open the device manager, find the Network adapters option, then the WiFi network adapter, and right-click it.
- Locate the “Properties” and open this option.
- After doing so, you must follow these steps: Advanced > Wireless Mode > Auto, and then confirm by clicking “OK”. Remember that the wireless mode is only available and only works for network cards supporting 5GHz.
- While still in the Advanced tab, find the “Preferred band”, select the “Prefer 5GHz band” option, and click “OK”.
- From now on, your Windows will first connect to the 5GHz WiFi band.

Through your Mac
- The first thing you are required to do is open System Settings and click the “Network” option.
- In the bottom right corner, you will notice the “Advanced” option. Open it.
- After doing so, you will see a list of all the preferred networks your MAC can connect to and automatically looks for. As they are always in sequential order, the first one will be the first device your MAC seeks out.
- To change this and force your MAC to connect to the 5GHz frequency, select the network name, hold it, and drag it to the top of the list.
- When you turn on your MAC, it will automatically go for the 5GHz network.
Through your iPhone
- Open the Home Screen and tap Settings.
- Scroll down the Settings until you find the “Cellular” option.
- When you open it, select “Cellular Data Options”, and when it opens, choose “Voice and Data”.
- After doing so, you will see a few options, and ensure to click the “5G Auto”. When you do this, your iPhone will be configured to connect automatically to the 5GHz frequency.
Through your Android
- Open the Settings option and locate the WiFi.
- In the WiFi setting, you will see three dots in the corner. Make sure to tap them so that you open the “Advanced settings” option.
- After doing so, you will notice the “WiFi Frequency Band” option, and you need to select it.
- Lastly, switch the 5GHz band, and you are good to go.
Troubleshoot Problems
If you come across this situation where your device seems to be opposite to connecting to the 5GHz WiFi, there might be a few reasons, but in this article, we will look at the two most common ones.
ISP support
If you do not have the proper ISP support, it is unlikely that you will be able to connect to 5GHz WiFi. To fix this issue, you will likely need to upgrade your plan with ISP to remove any 5GHz limits your WiFi might have.
Hardware compatibility
Another common reason why you might not be able to connect to 5GHz WiFi is your device. If it is very outdated and does not have the option for a dual-band connection, there is nothing you can do but get another device from the newer series that can support the 5GHz frequency.
Also read: How to Find My Router IP Address From Mobile
Conclusion
In this article, we have explained how to connect to 5GHz WiFi in a few easy steps. We have also included step-by-step directions for any device you might have so you can finally join the 5GHz WiFi connection worldwide and see the world from a whole new perspective!