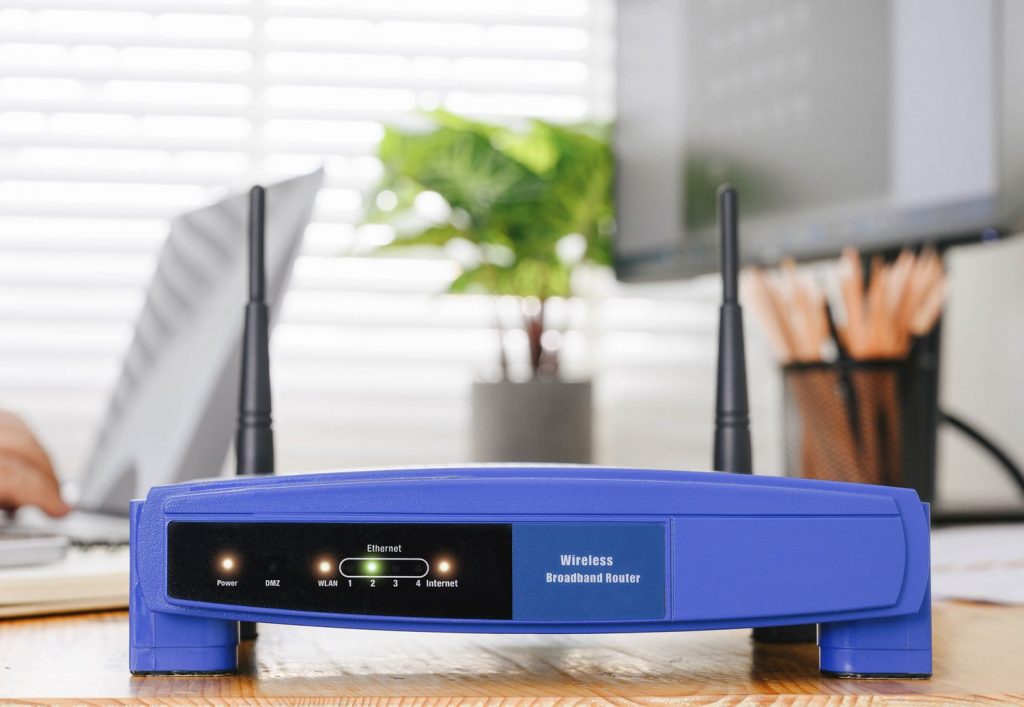
Having WiFi access to every corner of your home can be tricky, especially if you live in a large house with a backyard. Fortunately, a way to fix this is by extending an already existing WiFi network using a second router.
To do this, you will need to connect the two devices, preferably without cables, and we will show you how to connect two routers wirelessly to extend range and functionality of a WiFi network in the section below.

How to Connect Two Routers Wirelessly
Linking two network devices together is confusing, and knowing how to connect two routers wirelessly to extend range and reception can be quite challenging.
To connect the main router with a secondary one, the second router must act as an access point or a wireless bridge to receive and transfer signals wirelessly. If it does have these capabilities, then setting the two routers is done through the web-based configuration utility.
To connect both devices successfully, you need to have some technical knowledge first, which we will try to expand by providing you with a step-by-step guide in the next section.
Read more: How Many Extenders Can You Have On One Router
Step-by-Step Guide on How to Connect Two Routers Wirelessly
Step 1. Make sure the second router supports WDS
Before starting to configure the routers, you have to make sure that the router which is going to extend the range of your network has an option to act as a repeater. This feature is also called WDS, which is short for Wireless Distribution System.
WDS or repeater mode can also be named a “wireless bridge”. All three terms are the same, and whichever one your router displays, it can act as a wireless extender or an Access Point.
Step 2. Configure the main router
The first thing to do is configure your main router. If you’re already using the main router to gain internet access, this step is unnecessary, as you have already configured it.
But if you’re setting up both devices for the first time, connect to the main router using an ethernet cable, and access the web-based configuration utility. Almost all routers use the IP address 192.168.0.1, which you must enter in any web browser to gain access.
Once inside the configuration utility, you first need to set the Wireless settings of the router, ensuring that the option to enable DHCP is turned on. Many routers have this option enabled by default, but it doesn’t hurt to check and make sure.
After, you should set an SSID or a name for your WiFi network and enable the WPA2-PSK encryption protocol by setting a dedicated password or pin. This will lock your network and make it private.
If the router supports it, set its band to have both 2.4GHz and 5GHz frequencies enabled, dividing the bandwidth and optimizing your network’s speed and coverage. Note that this will create two separate wireless networks, so it would be a good idea to name them and tell them apart.
Step 3. Configure the second router
The next step is to configure the second router. This is also done through the web-based configuration utility, and you can gain access to it in the same way as you did with the first router.
Once you gain access, you need to go into the “Wireless setup” section, search for Bridge mode, WDS bridging, Repeating mode, or Wireless repeater, and enable it. This will make it possible for the second router to act as a repeater or an Access Point.
After that, you need to enter the same preferences the first router had concerning the network’s name, the passkey, and the MAC address. Make sure to enter a new SSID to tell apart the extending network from the main one.
Note that the IP address should not be the same as on the first router.
For example, if the main router has the IP address 192.168.1.1, you can set the second router’s IP address to 192.168.1.2. A conflict will occur if they are the same, and you won’t get a viable connection.
When setting the second router, you must ensure that the DHCP option is disabled. You don’t want this router to receive an internet connection but only to extend an already established WiFi network.
Step 4. Connect the two devices together
Once you’ve completed the two main steps of this guide, the two routers will already connect, with one acting as an Access Point and the other as a signal booster.
To check and ensure the secondary router has established a link, you can set it apart and try to connect to the network it is creating. Note that the passkey for both networks should be the same because it is practically the same, only extended and with a new name.
Step 5. Adjust the location of the routers
Adjusting the router’s location is paramount in achieving the best possible signal extension. After all, the purpose of adding a second router is to increase your WiFi network’s range without using Ethernet cables.
To make the extension as best as possible, first position the main router in a central place, without too many obstacles around it.
Then, try to position the second router as far away as not to lose connection with the main router, but not so close that its role is pointless. You can do this by experimenting with the range and adjusting accordingly. It is best to place it at a higher level, so the signal is distributed evenly.
Also read: How to Set up a WiFi Extender With Xfinity
Conclusion
As you can see, it is possible to connect network devices without an Ethernet cable, and now you know how to connect two routers wirelessly to extend range and reception across a wider area.
You will need some technical knowledge to make the connection possible, but don’t give up, and use our guide to help you do it feasibly.